A Characterization Method for Residual Stress of Ceramic/Metal Heterogeneous Brazed Joints
A technology of brazing joints and residual stress, applied in the direction of force/torque/work measuring instruments, instruments, measuring devices, etc., to achieve strong applicability, high measurement accuracy, and simple and easy methods
- Summary
- Abstract
- Description
- Claims
- Application Information
AI Technical Summary
Problems solved by technology
Method used
Image
Examples
Embodiment 1
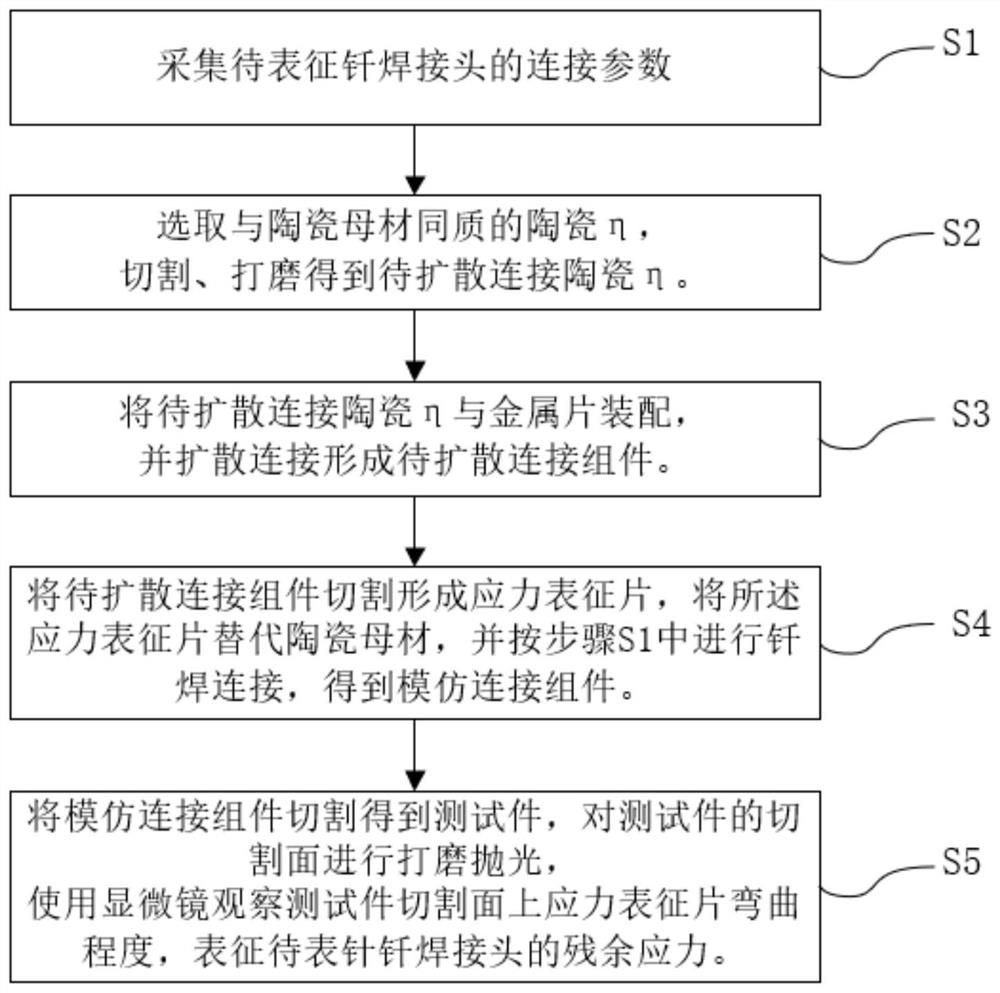
[0079] This embodiment provides a method for characterizing the residual stress of ceramic / metal heterogeneous brazing joints, which specifically includes:
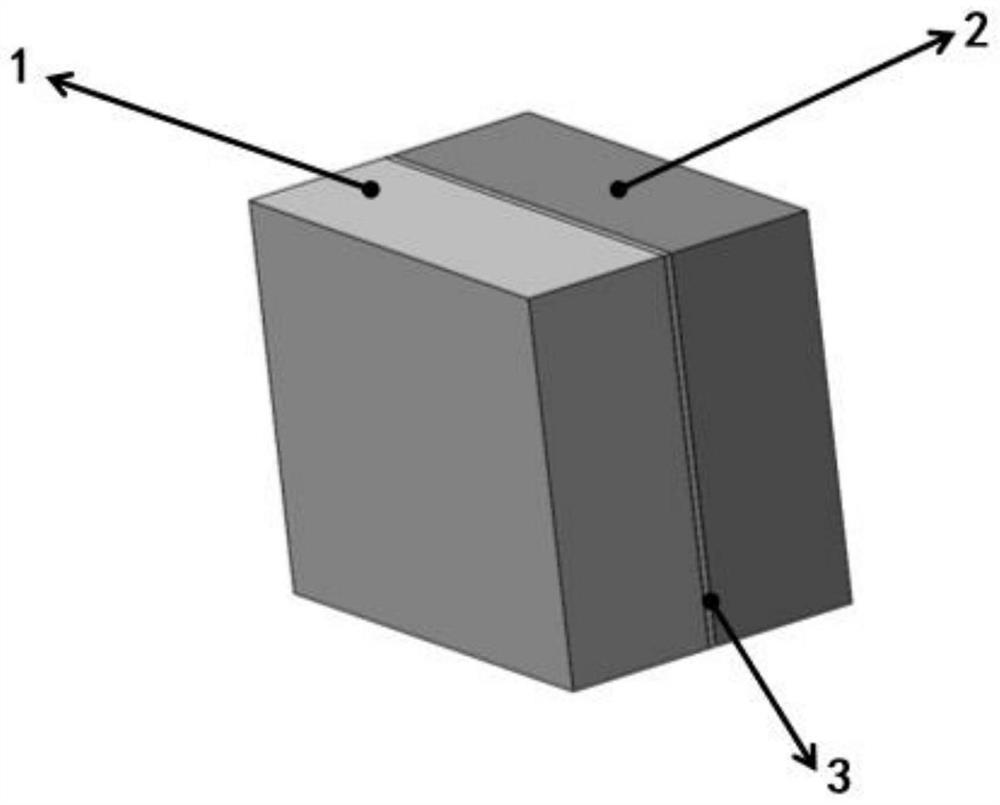
[0080] S1. The ceramic base material is alumina Al2O3 (6×5×2mm), the metal base material is titanium alloy Ti-6Al-4V (6×5×2mm), and the brazing filler metal is 100 μm thick Ag-28Cu (wt.%) Foil, no interlayer in the weld. The 6×5mm plane of Al2O3 and Ti-6Al-4V is the connection surface, and the four sides of the connection surface are aligned after purification treatment. The Ag-28Cu (wt.%) foil is directly placed on the connection surface of Al2O3 and Ti-6Al-4V directly to form a sandwich structure as the brazed joint to be characterized. At the same time, determine the brazing process parameters: brazing connection temperature, connection time, temperature and time of each heat preservation section, heating rate and cooling rate of each stage, and applied pressure.
[0081] S2. Cutting and obtaining two pieces of Al2O3...
Embodiment 2
[0089] The difference between this embodiment and Embodiment 1 is that in the method for characterizing the residual stress of a ceramic / metal heterogeneous brazing joint provided by this embodiment, the ceramic base material is zirconium carbide (ZrC). The remaining characterization steps and experimental parameters are the same as in Example 1.
[0090] A simple characterization method for the residual stress of a ceramic / metal heterogeneous brazed joint in Example 2, the joint of the obtained test piece, the measured bending angle of the stress characterization sheet is symmetrical up and down, and the bending angle α is 19 ° (in the accompanying drawing not shown).
[0091] It can be seen from Example 1 and Example 2 that under the same conditions of brazing process parameters, the bending angle of the stress characterization sheet in Example 2 is greater than the bending angle of the stress characterization sheet in Example 1, that is, the bending angle of the stress char...
PUM
| Property | Measurement | Unit |
|---|---|---|
| pore size | aaaaa | aaaaa |
| pore size | aaaaa | aaaaa |
| thickness | aaaaa | aaaaa |
Abstract
Description
Claims
Application Information
 - Generate Ideas
- Intellectual Property
- Life Sciences
- Materials
- Tech Scout
- Unparalleled Data Quality
- Higher Quality Content
- 60% Fewer Hallucinations
Browse by: Latest US Patents, China's latest patents, Technical Efficacy Thesaurus, Application Domain, Technology Topic, Popular Technical Reports.
© 2025 PatSnap. All rights reserved.Legal|Privacy policy|Modern Slavery Act Transparency Statement|Sitemap|About US| Contact US: help@patsnap.com


