Method for detecting retained austenite and under-tempering by using Rockwell and Leeb hardness contrast method
A technology of retained austenite and Leeb hardness, applied in the field of steel heat treatment quality inspection, can solve the problems of workpiece cracking, insufficient tempering damage, cracking and other problems
- Summary
- Abstract
- Description
- Claims
- Application Information
AI Technical Summary
Problems solved by technology
Method used
Image
Examples
Embodiment 1
[0065] Embodiment 1, the first phenomenon:
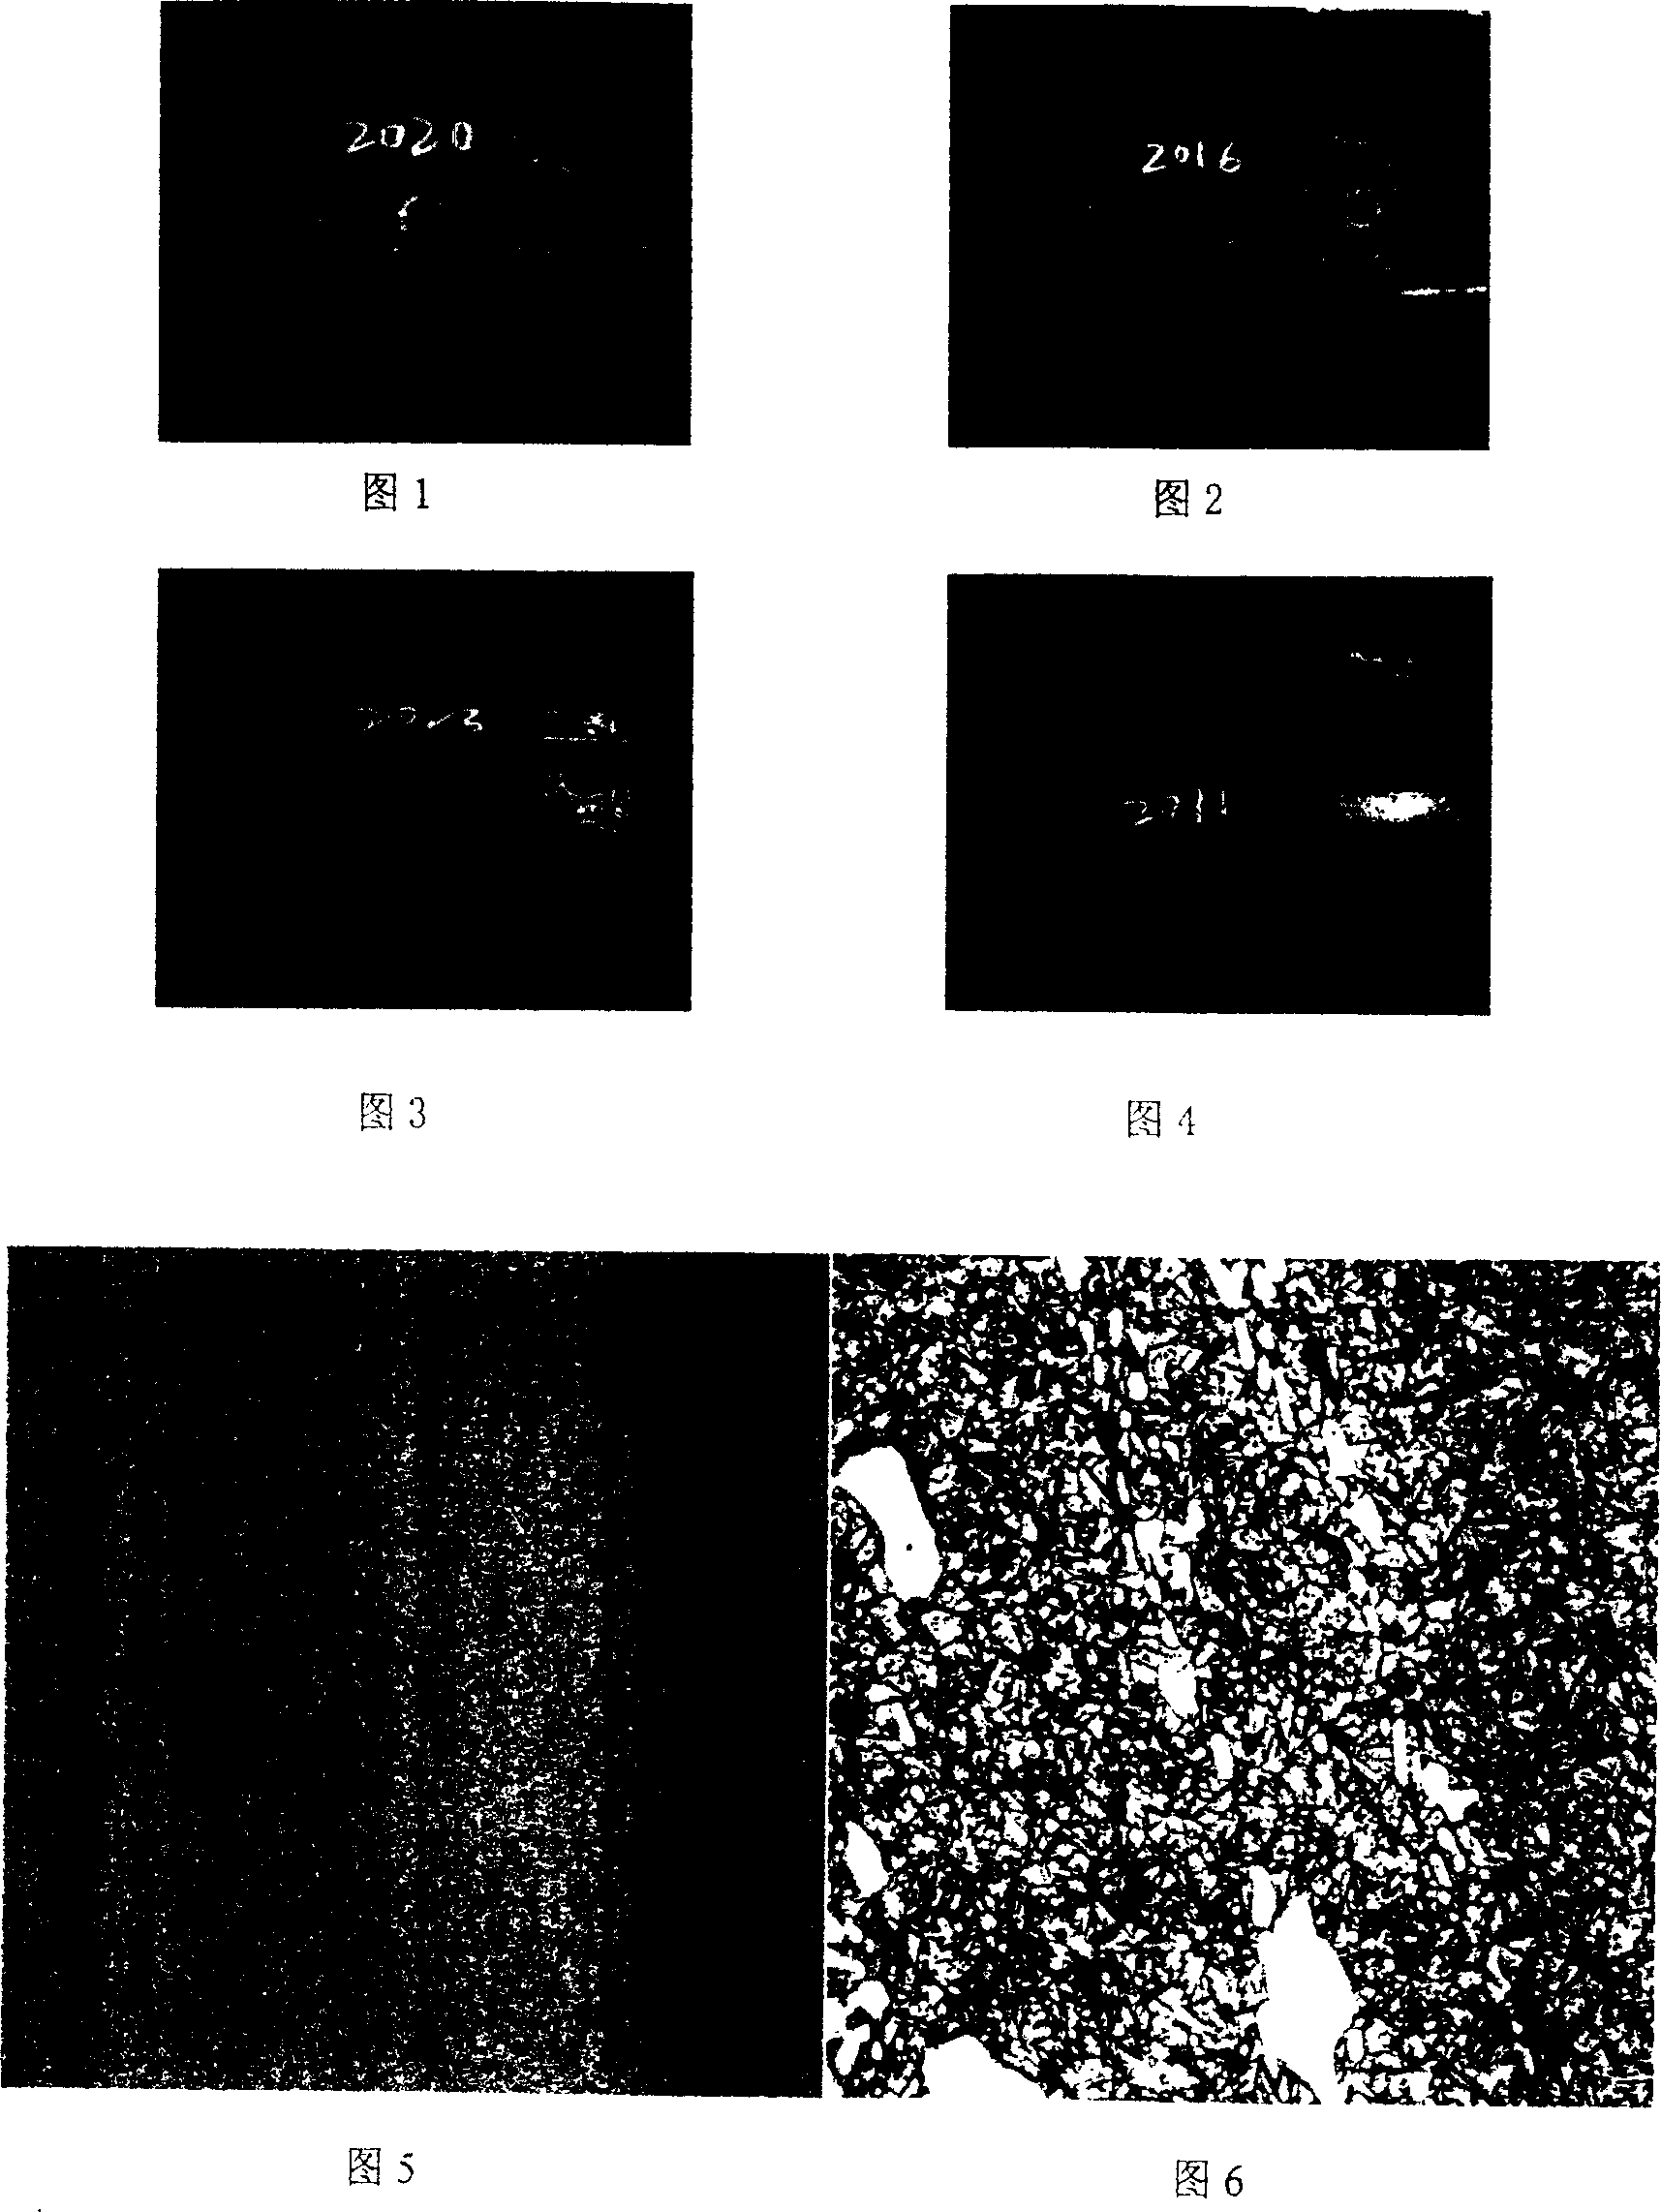
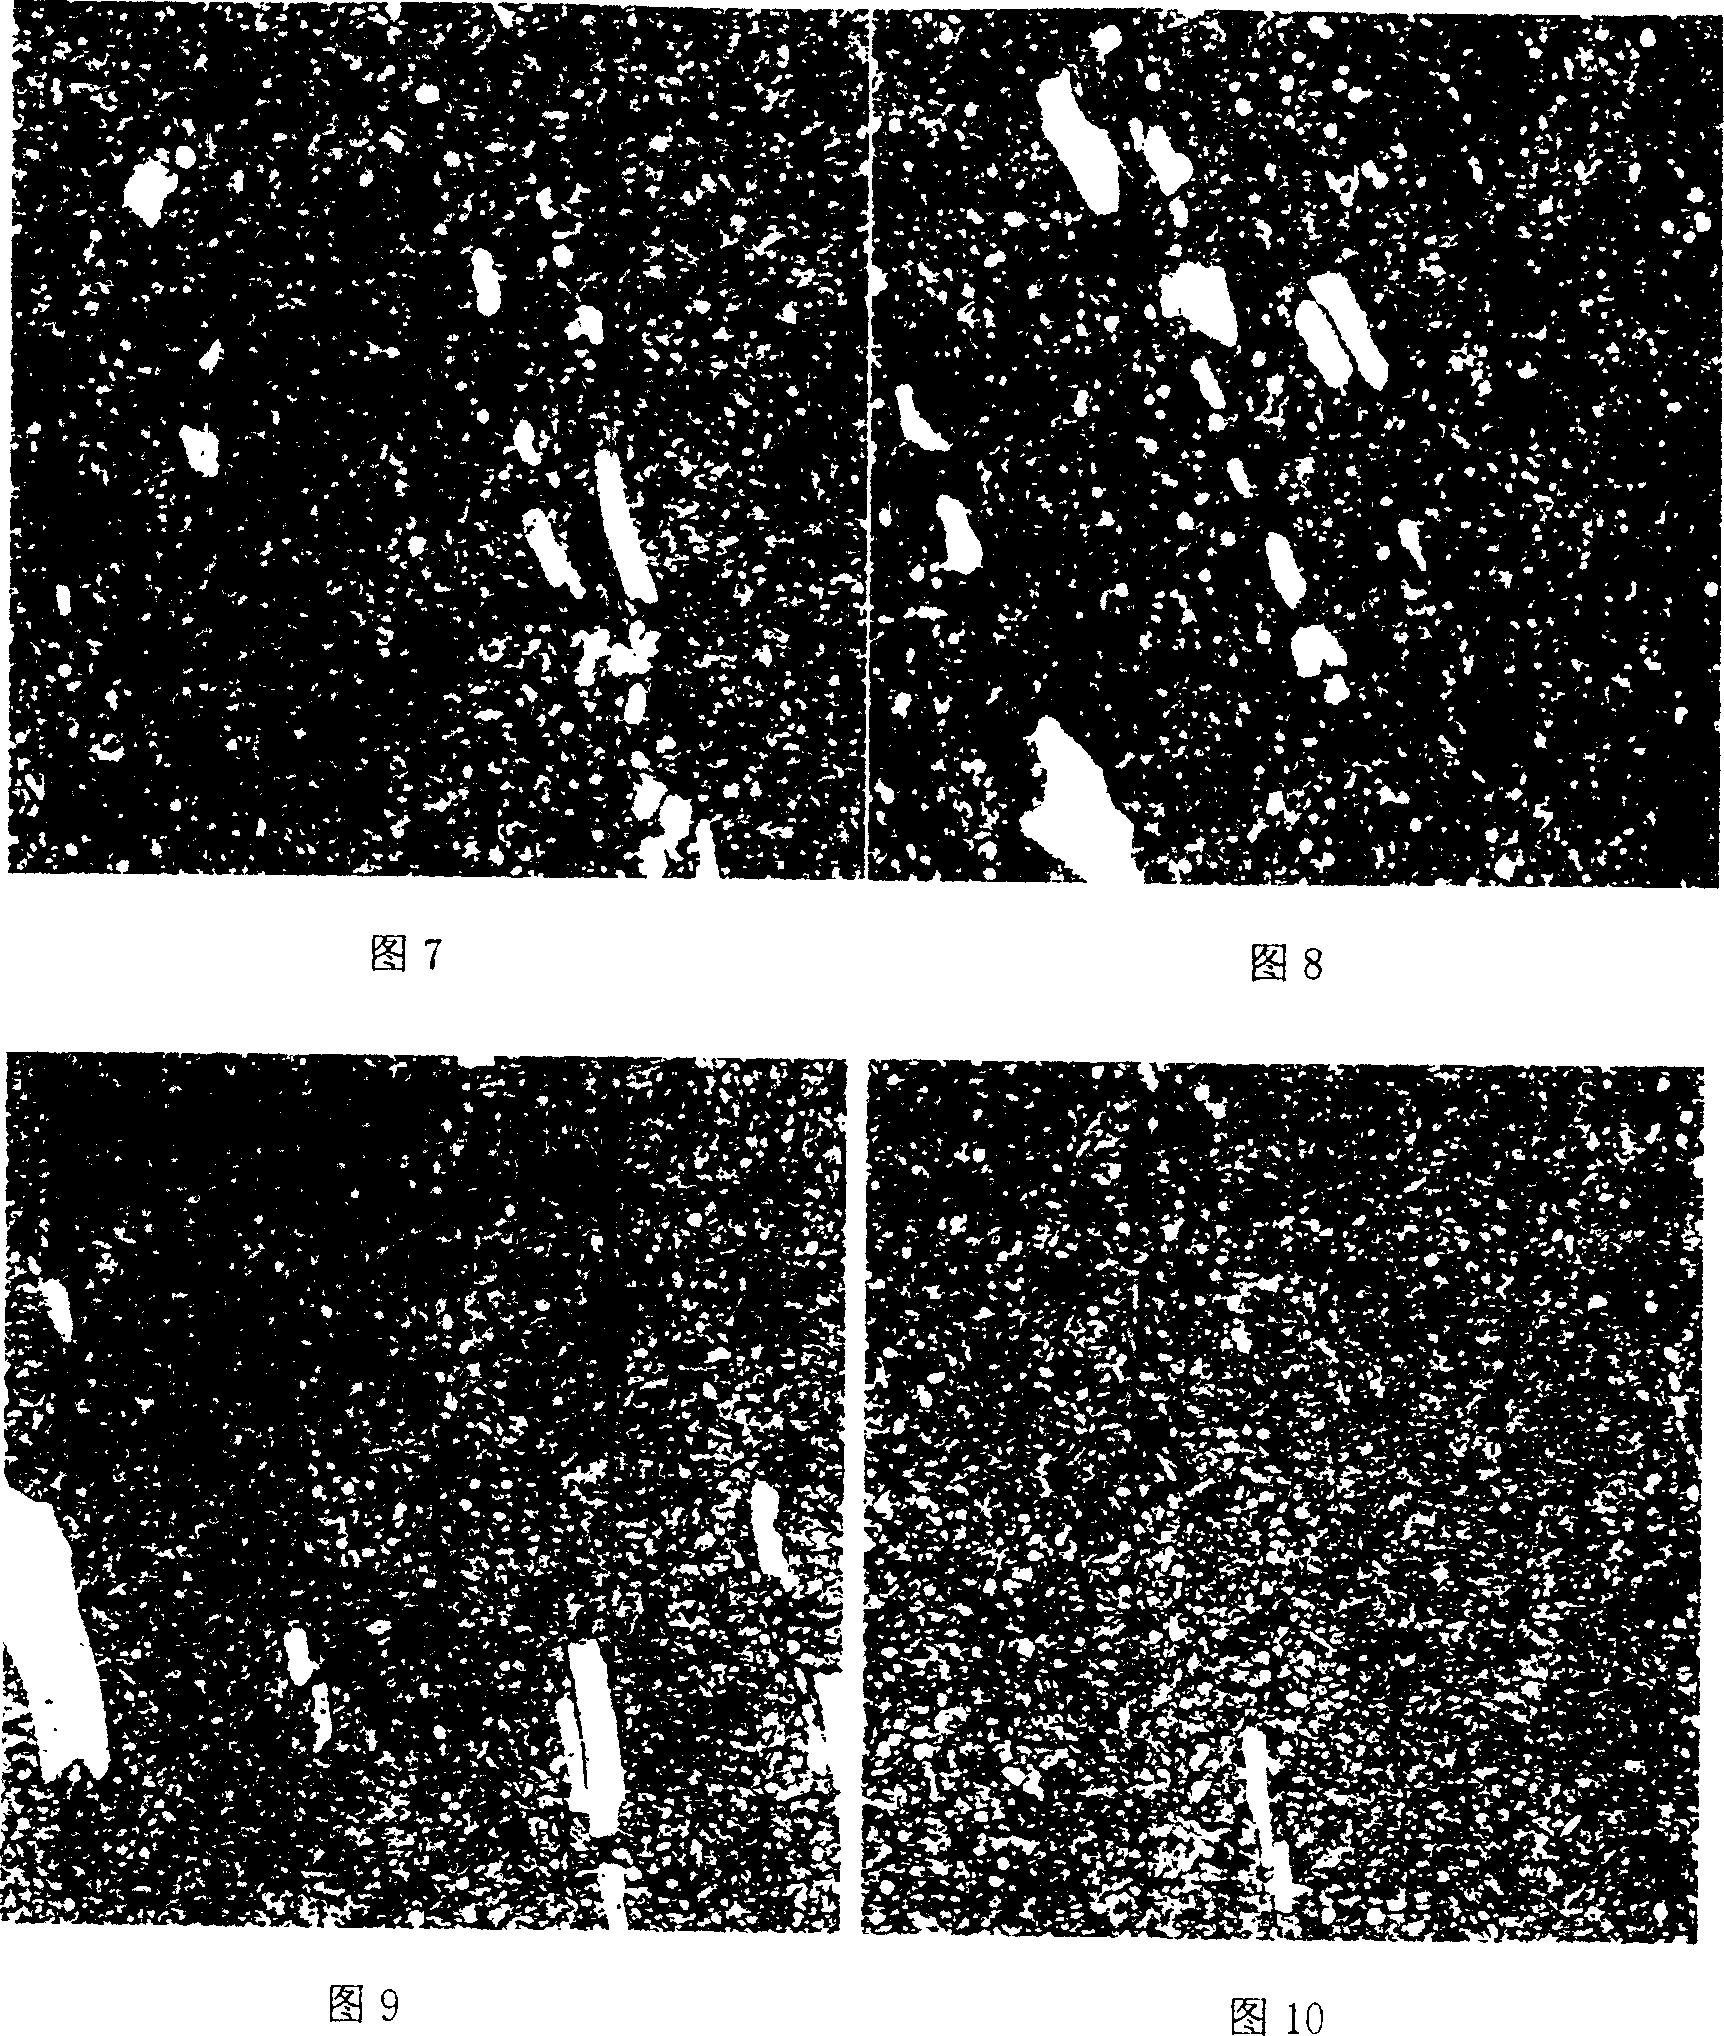
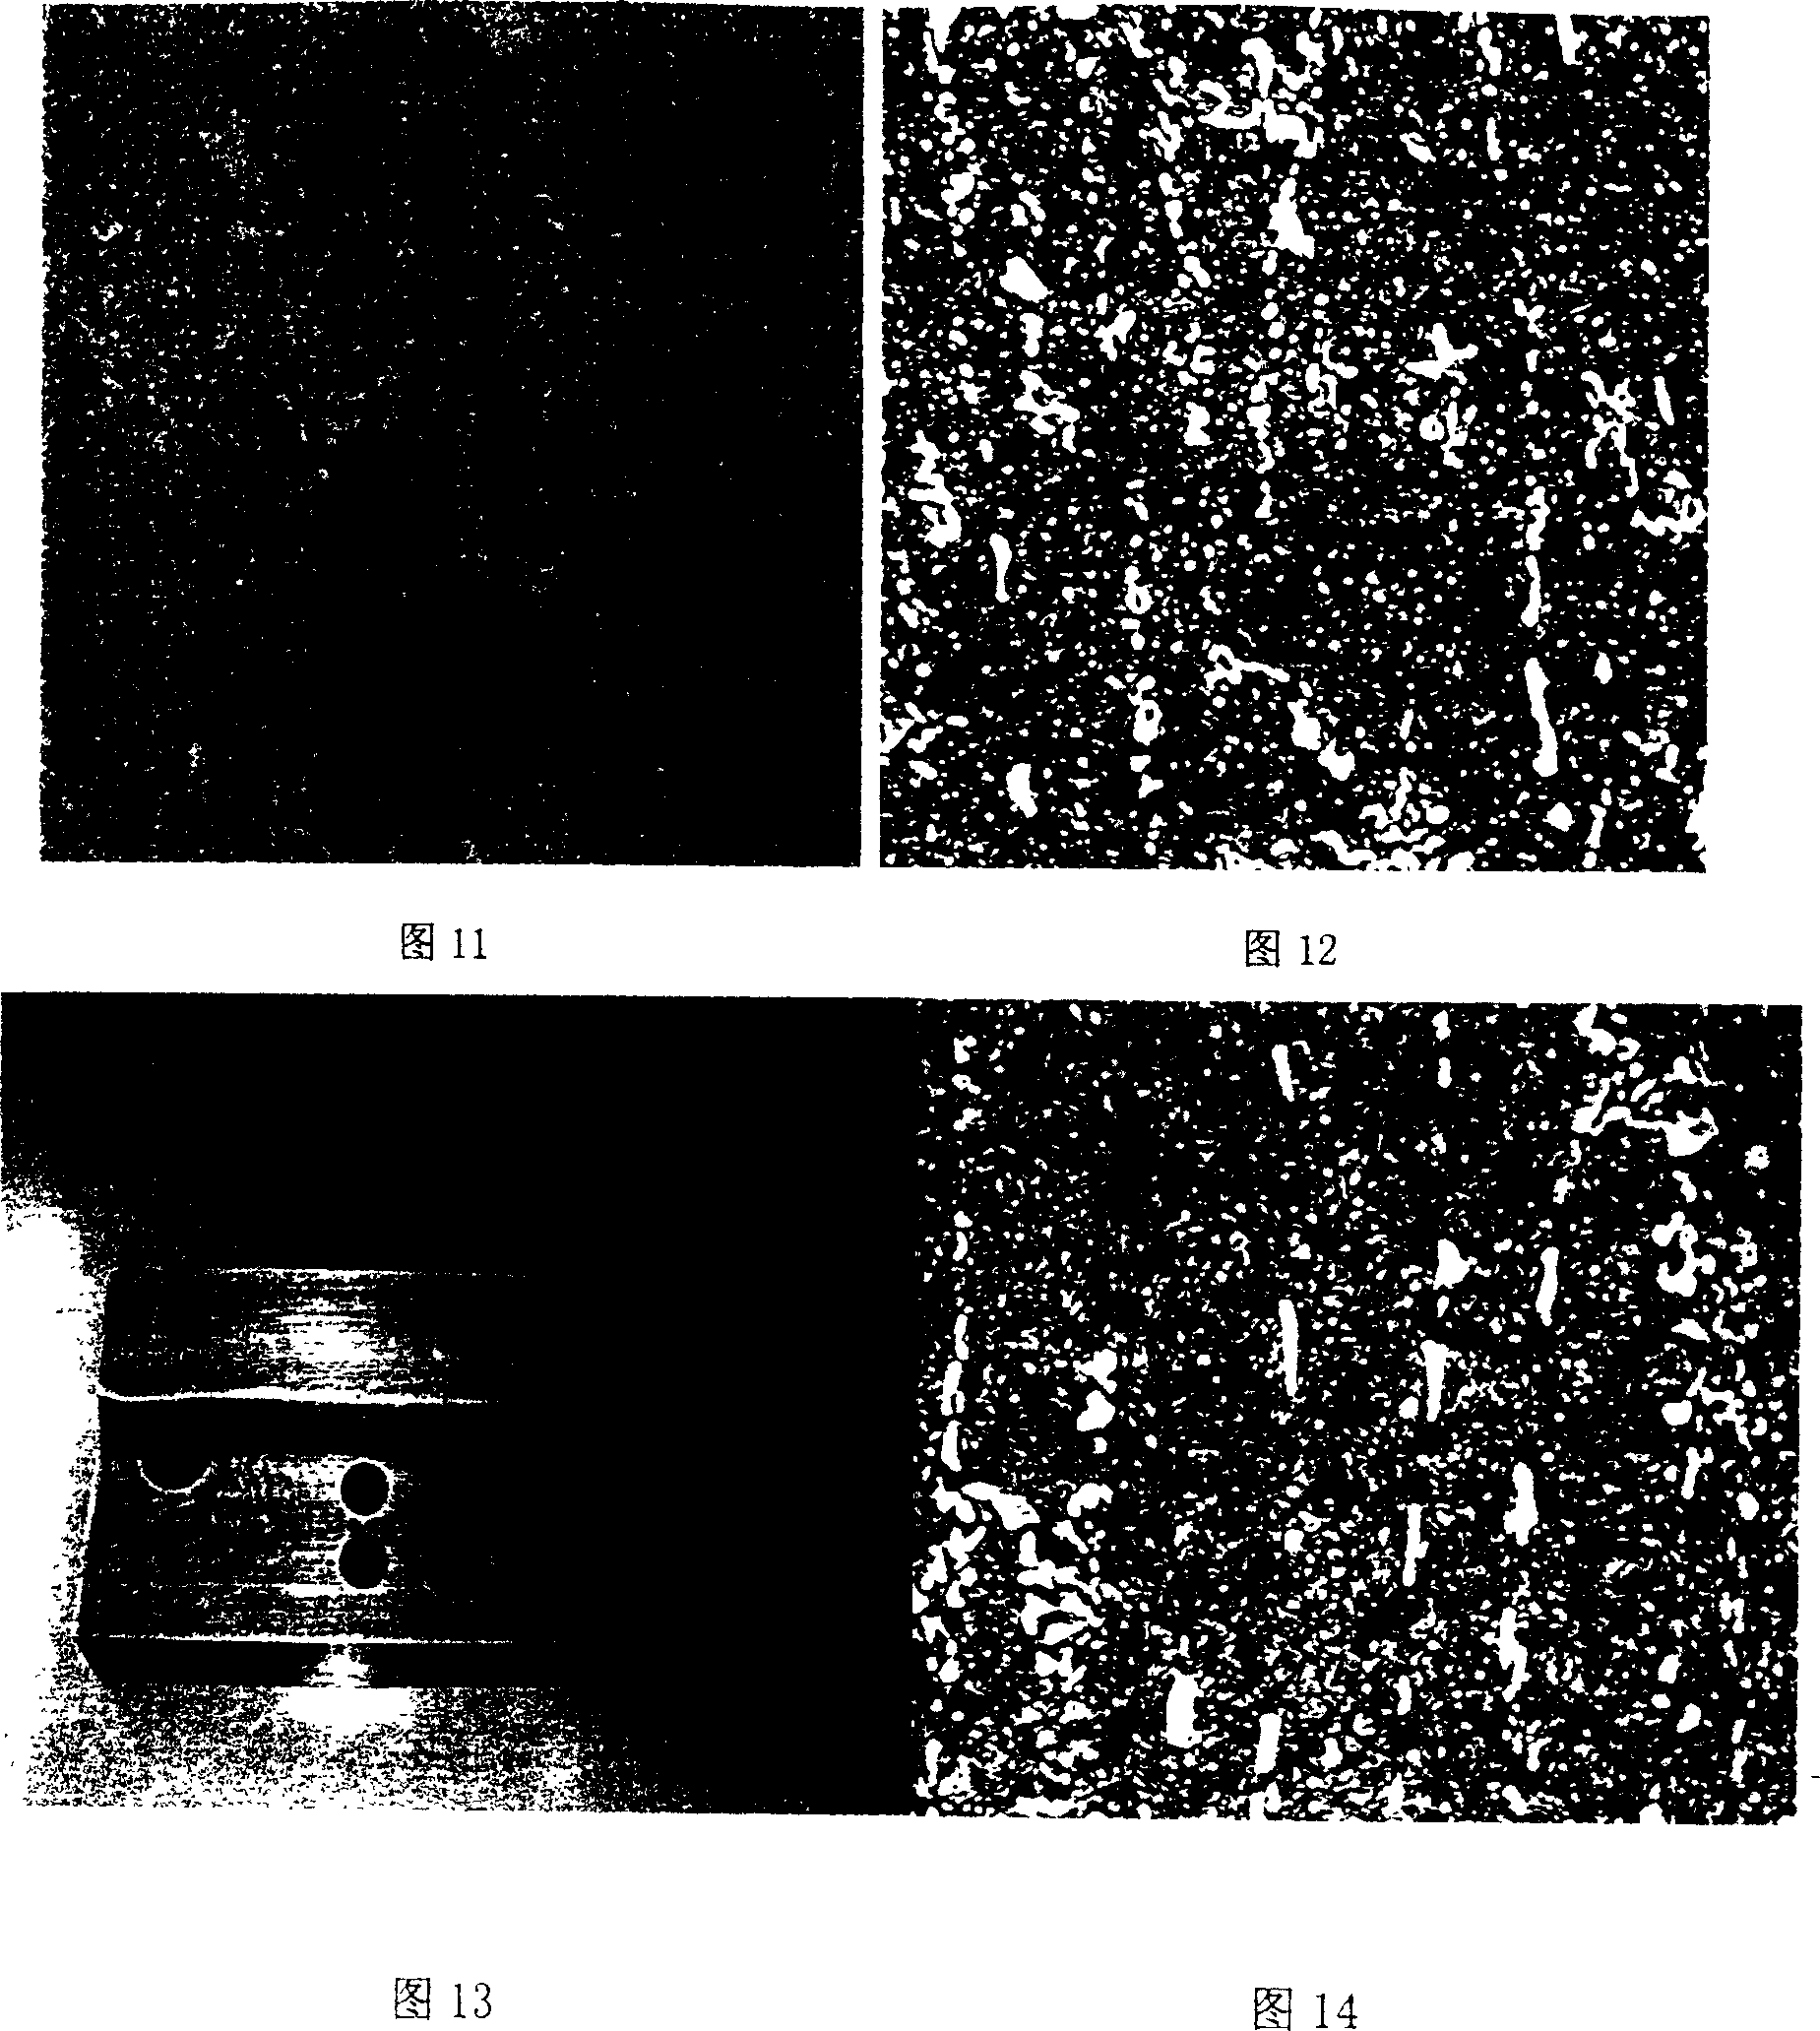
[0066] The hardness value of the workpiece detected by the Rockwell hardness tester is 61.5HRC; the hardness value of the workpiece measured by the Leeb hardness tester is converted to Rockwell 59.9-61.2HRCLD (all the following Leeb hardness values are directly converted into Rockwell values by the instrument). The hardness value of each part of the workpiece is relatively uniform regardless of whether it is detected by a Leeb hardness tester or a Rockwell hardness tester. The metallographic structure is martensite + block granular carbide + a small amount of retained austenite, and the structure is fully tempered. See Figures 13 and 14.
[0067] Corrosion conditions: 4% nitric alcohol at room temperature 25°C for two minutes.
Embodiment 2
[0068] Embodiment 2, the second phenomenon:
[0069] The hardness value of the workpiece detected by the Rockwell hardness tester is 58-60HRC; the hardness value of the workpiece measured by the Leeb hardness tester is 48-55HRCLD. The value measured by the Leeb hardness tester at the periphery of the workpiece is 52-55HRCLD, and the value measured by the Leeb hardness tester near the middle is 48-51HRCLD; the hardness value deviation of each part of the workpiece measured by the Rockwell hardness tester is only 1-2HRC. The metallographic structure is martensite + massive granular carbide + a large amount of retained austenite, and the organization is insufficiently tempered. See Figures 15 and 16.
[0070] Corrosion conditions: 4% nitric alcohol at room temperature 25°C for two minutes.
Embodiment 3
[0071] Embodiment 3, the third phenomenon:
[0072] The hardness value of the workpiece measured by the Rockwell hardness tester is 51-52HRC; the hardness value of the workpiece measured by the Leeb hardness tester is 50-53HRCLD. The hardness values of each part of the workpiece measured by the two hardness testers are relatively uniform. The metallographic structure is cryptocrystalline martensite + massive granular carbide + a small amount of retained austenite, and the structure is fully tempered. See Figure 17 and Figure 18.
[0073] Corrosion conditions: 4% nitric alcohol at room temperature 25°C for two minutes.
[0074] From the above data and metallographic structure, it can be concluded that: the first phenomenon, the workpiece hardness is qualified, and the metallographic structure is normal, which can determine the quality is qualified; the second phenomenon, the difference between the two hardness tester results of the workpiece is greater than or equal to 3HRC...
PUM
 Abstract
Description
Claims
Application Information
 - R&D
- Intellectual Property
- Life Sciences
- Materials
- Tech Scout
- Unparalleled Data Quality
- Higher Quality Content
- 60% Fewer Hallucinations
Browse by: Latest US Patents, China's latest patents, Technical Efficacy Thesaurus, Application Domain, Technology Topic, Popular Technical Reports.
© 2025 PatSnap. All rights reserved.Legal|Privacy policy|Modern Slavery Act Transparency Statement|Sitemap|About US| Contact US: help@patsnap.com


