Method for manufacturing and testing ideal cracks of metal material
A technology of metal materials and testing methods, applied in the field of materials, achieves the effects of low cost, low equipment requirements, and strong controllability
- Summary
- Abstract
- Description
- Claims
- Application Information
AI Technical Summary
Problems solved by technology
Method used
Image
Examples
Embodiment 1
[0064] Test amorphous alloy LM-1 (Zr 41.2 Ti 13.8 Cu 12.5 Ni 10 Be 22.5 ) Fracture toughness of a 2mm thick fracture specimen, including steps:
[0065] 1. According to the needs of the experiment, cut the bulk amorphous alloy into several pieces, Figure 5a It is a strip-shaped amorphous alloy sample after cutting.
[0066] 2. Mark the surface of the amorphous alloy material to ensure that the cutting is vertical and the cutting range is exactly half of the width of the sample. Use a 0.25mm diamond wire to wire-cut the sample so that there is a unilateral gap in the sample. Figure 5b It is the amorphous alloy sample after wire cutting.
[0067] 3. According to the amorphous alloy Zr 41.2 Ti 13.8 Cu 12.5 Ni 10 Be 22. The glass temperature of 5 preset heating temperature is 405 ℃.
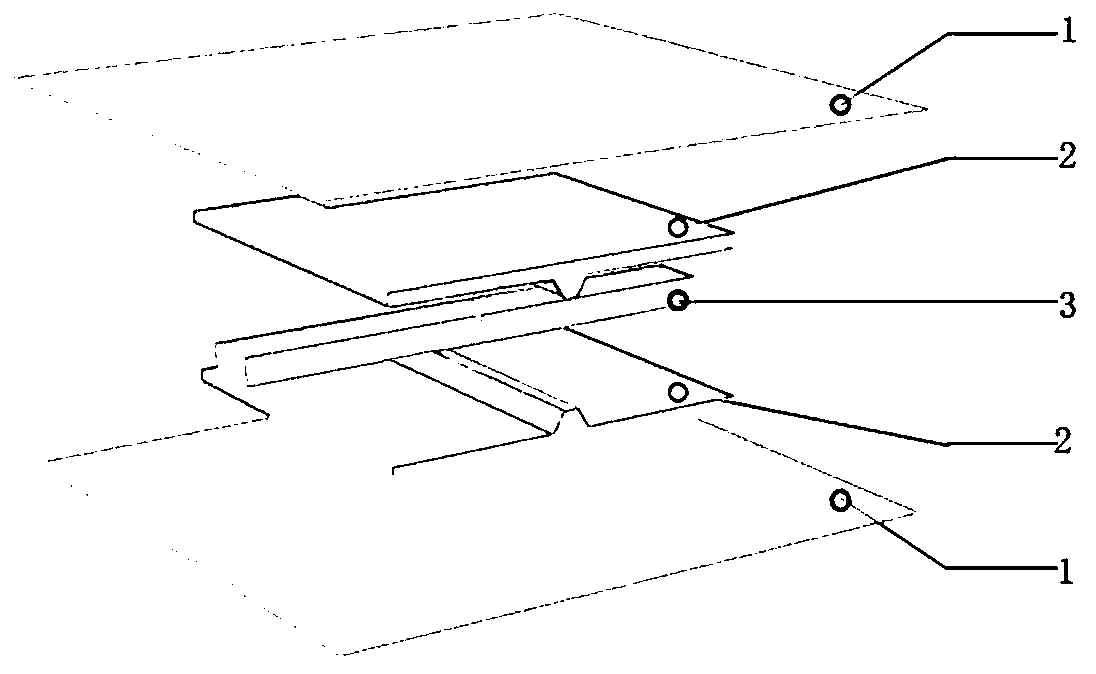
[0068] 4. Stack 40μm thick stainless steel substrate, stainless steel pressure transmission parts, and 3.5mm thick Zr respectively from bottom to top 41.2 Ti 13.8 Cu 12.5 Ni 10 Be ...
Embodiment 2
[0075] Test amorphous alloy LM-1 (Zr 41.2 Ti 13.8 Cu 12.5 Ni 10 Be 22.5 ) Fracture toughness of 0.5mm thick fracture specimen, including steps:
[0076] 1. According to the needs of the experiment, cut the bulk amorphous alloy into several pieces.
[0077] 2. Mark the surface of the amorphous alloy material to ensure that the cutting is vertical and the cutting range is exactly half of the width of the sample. Use a 0.25mm diamond wire to wire-cut the sample so that there is a single-sided gap in the sample.
[0078] 3. According to the amorphous alloy Zr 41.2 Ti 13.8 Cu 12.5 Ni 10 Be 22.5 The glass state temperature of the preset heating temperature is 405°C.
[0079] 4. Stack 40μm thick stainless steel substrate, stainless steel pressure transmission parts, and 1mm thick Zr respectively from bottom to top 41.2 Ti 13.8 Cu 12.5 Ni 10 Be 22.5 Materials, stainless steel pressure parts, 40μm thick stainless steel substrate.
[0080] 5. Place the stack as a whole o...
Embodiment 3
[0086] Test amorphous alloy LM-1b (Zr 44 Ti 11 Cu 10 Ni 10 Be 25 ) Fracture toughness of 0.2mm thick fracture specimen, including steps:
[0087] 1. According to the needs of the experiment, cut the bulk amorphous alloy into several pieces.
[0088] 2. Press the amorphous alloy into the silicon mold by thermoplastic molding.
[0089] 3. According to the amorphous alloy Zr 44 Ti 11 Cu 10 Ni 10 Be 25 The glass state temperature of the preset heating temperature is 420°C.
[0090] 4. Stack 40μm thick stainless steel substrate, tungsten pressure transmission parts, and 350um thick Zr respectively from bottom to top 44 Ti 11 Cu 10 Ni 10 Be 25 Material, tungsten pressure transmission part, 40μm thick stainless steel substrate.
[0091] 5. Put the stack as a whole on the flat surface fixture of the universal testing machine to heat and stabilize the temperature at 420°C (the flat surface fixture is heated by resistance wire, and its temperature can be precisely adjust...
PUM
 Abstract
Description
Claims
Application Information
 - R&D
- Intellectual Property
- Life Sciences
- Materials
- Tech Scout
- Unparalleled Data Quality
- Higher Quality Content
- 60% Fewer Hallucinations
Browse by: Latest US Patents, China's latest patents, Technical Efficacy Thesaurus, Application Domain, Technology Topic, Popular Technical Reports.
© 2025 PatSnap. All rights reserved.Legal|Privacy policy|Modern Slavery Act Transparency Statement|Sitemap|About US| Contact US: help@patsnap.com


