Operation method for measuring average grain size of metal
A technology of average grain size and operation method, which is applied in image analysis, image enhancement, instruments, etc., can solve the problem of low accuracy of measurement results, achieve the effect of easy operation and guaranteed measurement accuracy
- Summary
- Abstract
- Description
- Claims
- Application Information
AI Technical Summary
Problems solved by technology
Method used
Image
Examples
Embodiment 1
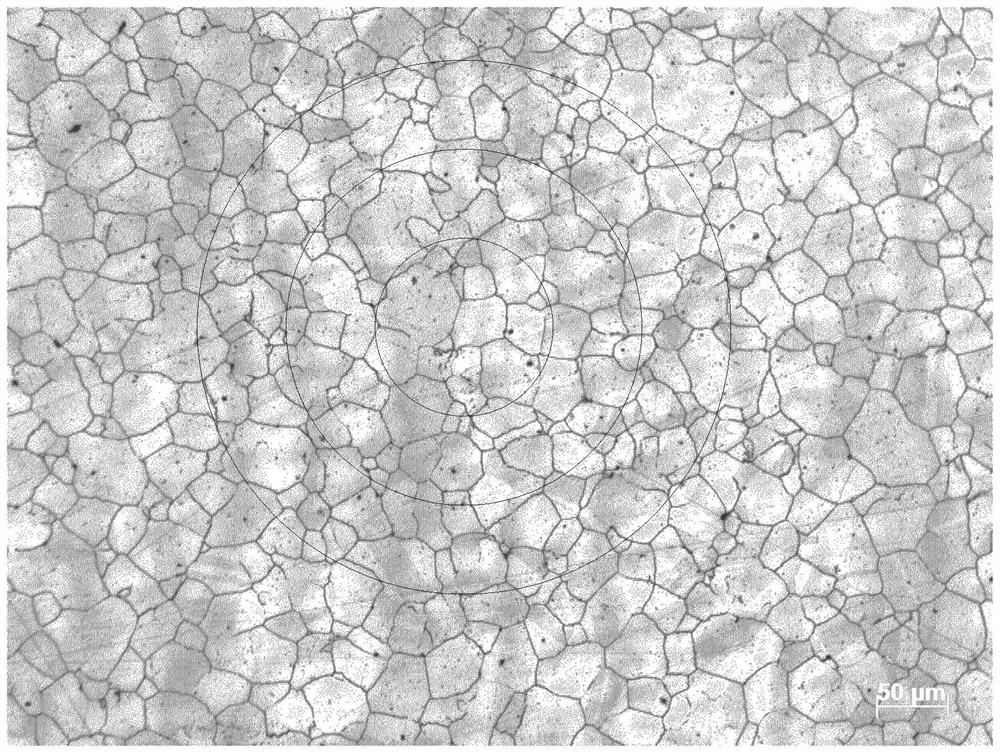
[0034] Example one, yes Figure 3 (magnified 100x) for grain size rating.
[0035] An operating method for determining the average grain size of a metal, including the following steps:
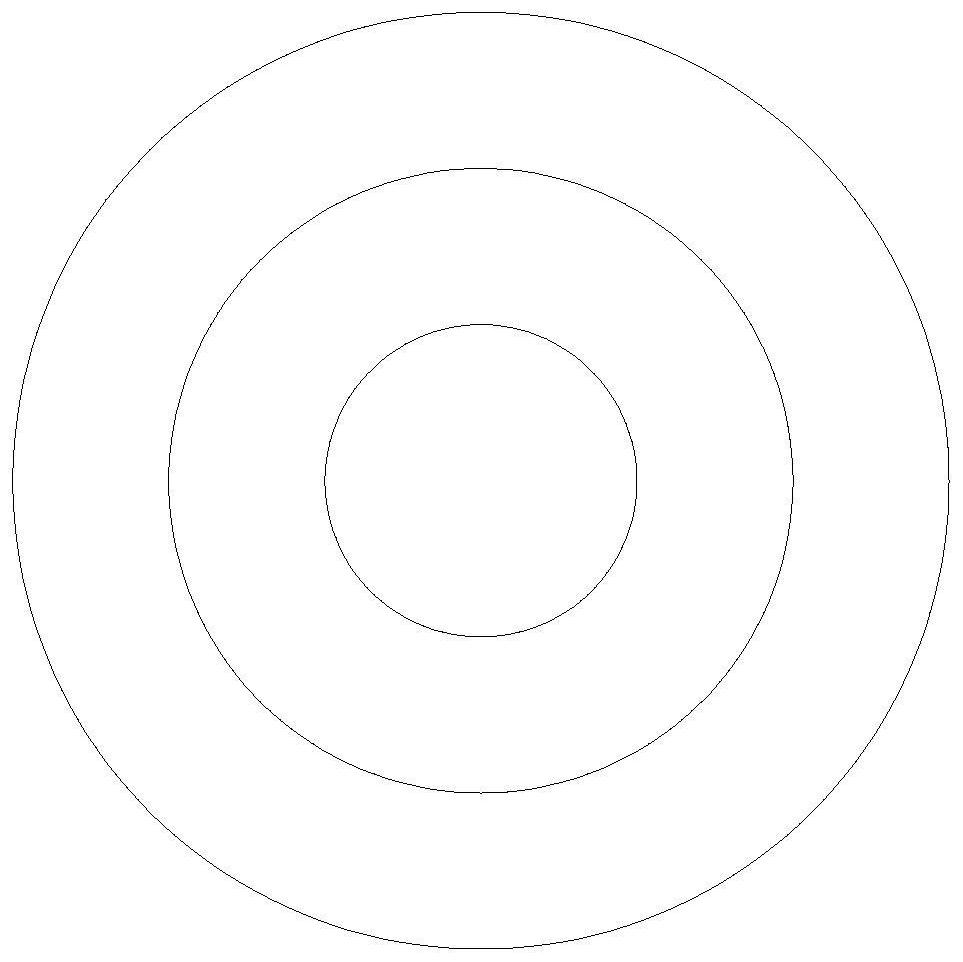
[0036] Step S1: Make an electronic version of the three-circle grid;
[0037] Step S2: Insert the grain size picture into the document where the three-circle grid picture is located and make adjustments;
[0038] Step S3: Use the left mouse button to click on the three-circle picture to move above the grain size picture so that the two coincide;
[0039] Step S4: By counting the number of grain boundaries and the number of intercept points of the electronic version of the three-circle grid, in this process, the grain size picture is used as a field of view, and the three-circle picture is placed on the upper level of the corresponding field of view, so that five times, a total of five fields of view, and then the nodes of each field of view are counted, and the values are obtained: 136, 144, 127, 1...
Embodiment 2
[0047] Example two, yes Figure 4 (magnified 200x) for grain size rating.
[0048] An operating method for determining the average grain size of a metal, including the following steps:
[0049] Step S1: Make an electronic version of the three-circle grid;
[0050] Step S2: Insert the grain size picture into the document where the three-circle grid picture is located and make adjustments;
[0051] Step S3: Use the left mouse button to click on the three-circle picture to move above the grain size picture so that the two coincide;
[0052] Step S4: By counting the number of intercept points between the grain boundary and the electronic version of the three-circle grid, in this process, the grain size picture is used as a field of view, and the three-circle picture is placed on the upper level of the corresponding field of view, so five times, a total of five fields of view, and then the nodes of each field of view are counted, and the values are obtained: 109, 116, 114, 110, 95.
[0...
Embodiment 3
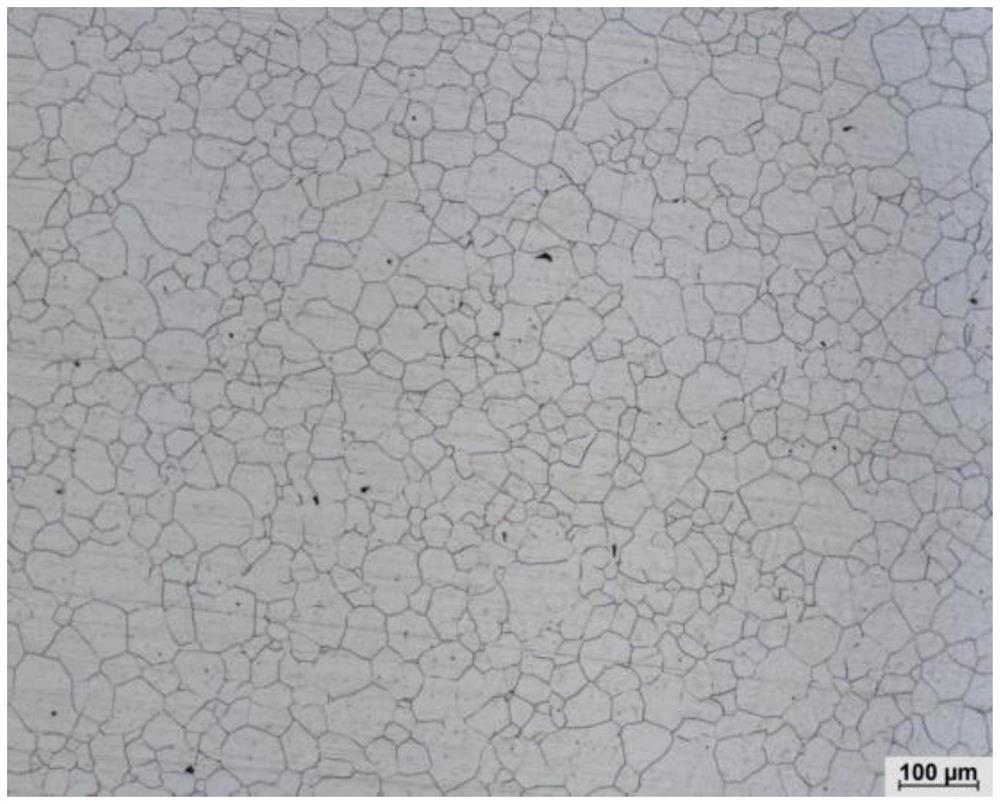
[0061] Example three, yes Figure 5 (magnified 100x) for grain size rating.
[0062] An operating method for determining the average grain size of a metal, including the following steps:
[0063] Step S1: Make an electronic version of the three-circle grid;
[0064] Step S2: Insert the grain size picture into the document where the three-circle grid picture is located and make adjustments;
[0065] Step S3: Use the left mouse button to click on the three-circle picture to move above the grain size picture so that the two coincide;
[0066] Step S4: By counting the number of intercept points between the grain boundary and the electronic version of the three-circle grid, in this process, the grain size picture is used as a field of view, and the three-circle picture is placed on the upper level of the corresponding field of view, so five times, a total of five fields of view, and then the nodes of each field of view are counted, and the values are obtained: 82, 83, 88, 80, 88.
[006...
PUM
| Property | Measurement | Unit |
|---|---|---|
| diameter | aaaaa | aaaaa |
Abstract
Description
Claims
Application Information
 - Generate Ideas
- Intellectual Property
- Life Sciences
- Materials
- Tech Scout
- Unparalleled Data Quality
- Higher Quality Content
- 60% Fewer Hallucinations
Browse by: Latest US Patents, China's latest patents, Technical Efficacy Thesaurus, Application Domain, Technology Topic, Popular Technical Reports.
© 2025 PatSnap. All rights reserved.Legal|Privacy policy|Modern Slavery Act Transparency Statement|Sitemap|About US| Contact US: help@patsnap.com


