Diameter and shape precision control method of thin-walled cylinder and special tool thereof
A thin-walled cylinder and precision control technology, applied in the processing field of thin-walled cylinders, can solve the problems of inability to meet the precision requirements, poor shape calibration accuracy, time-consuming and other problems, and achieve good shape correction effect, high diameter size and shape accuracy, and diameter size control. accurate effect
- Summary
- Abstract
- Description
- Claims
- Application Information
AI Technical Summary
Problems solved by technology
Method used
Image
Examples
Embodiment 1
[0035] For a thin-walled cylinder with a dimension parameter of Φ880mm×2000mm and a wall thickness of 3.8mm on a certain aircraft, the control process of its diameter and shape accuracy is as follows:
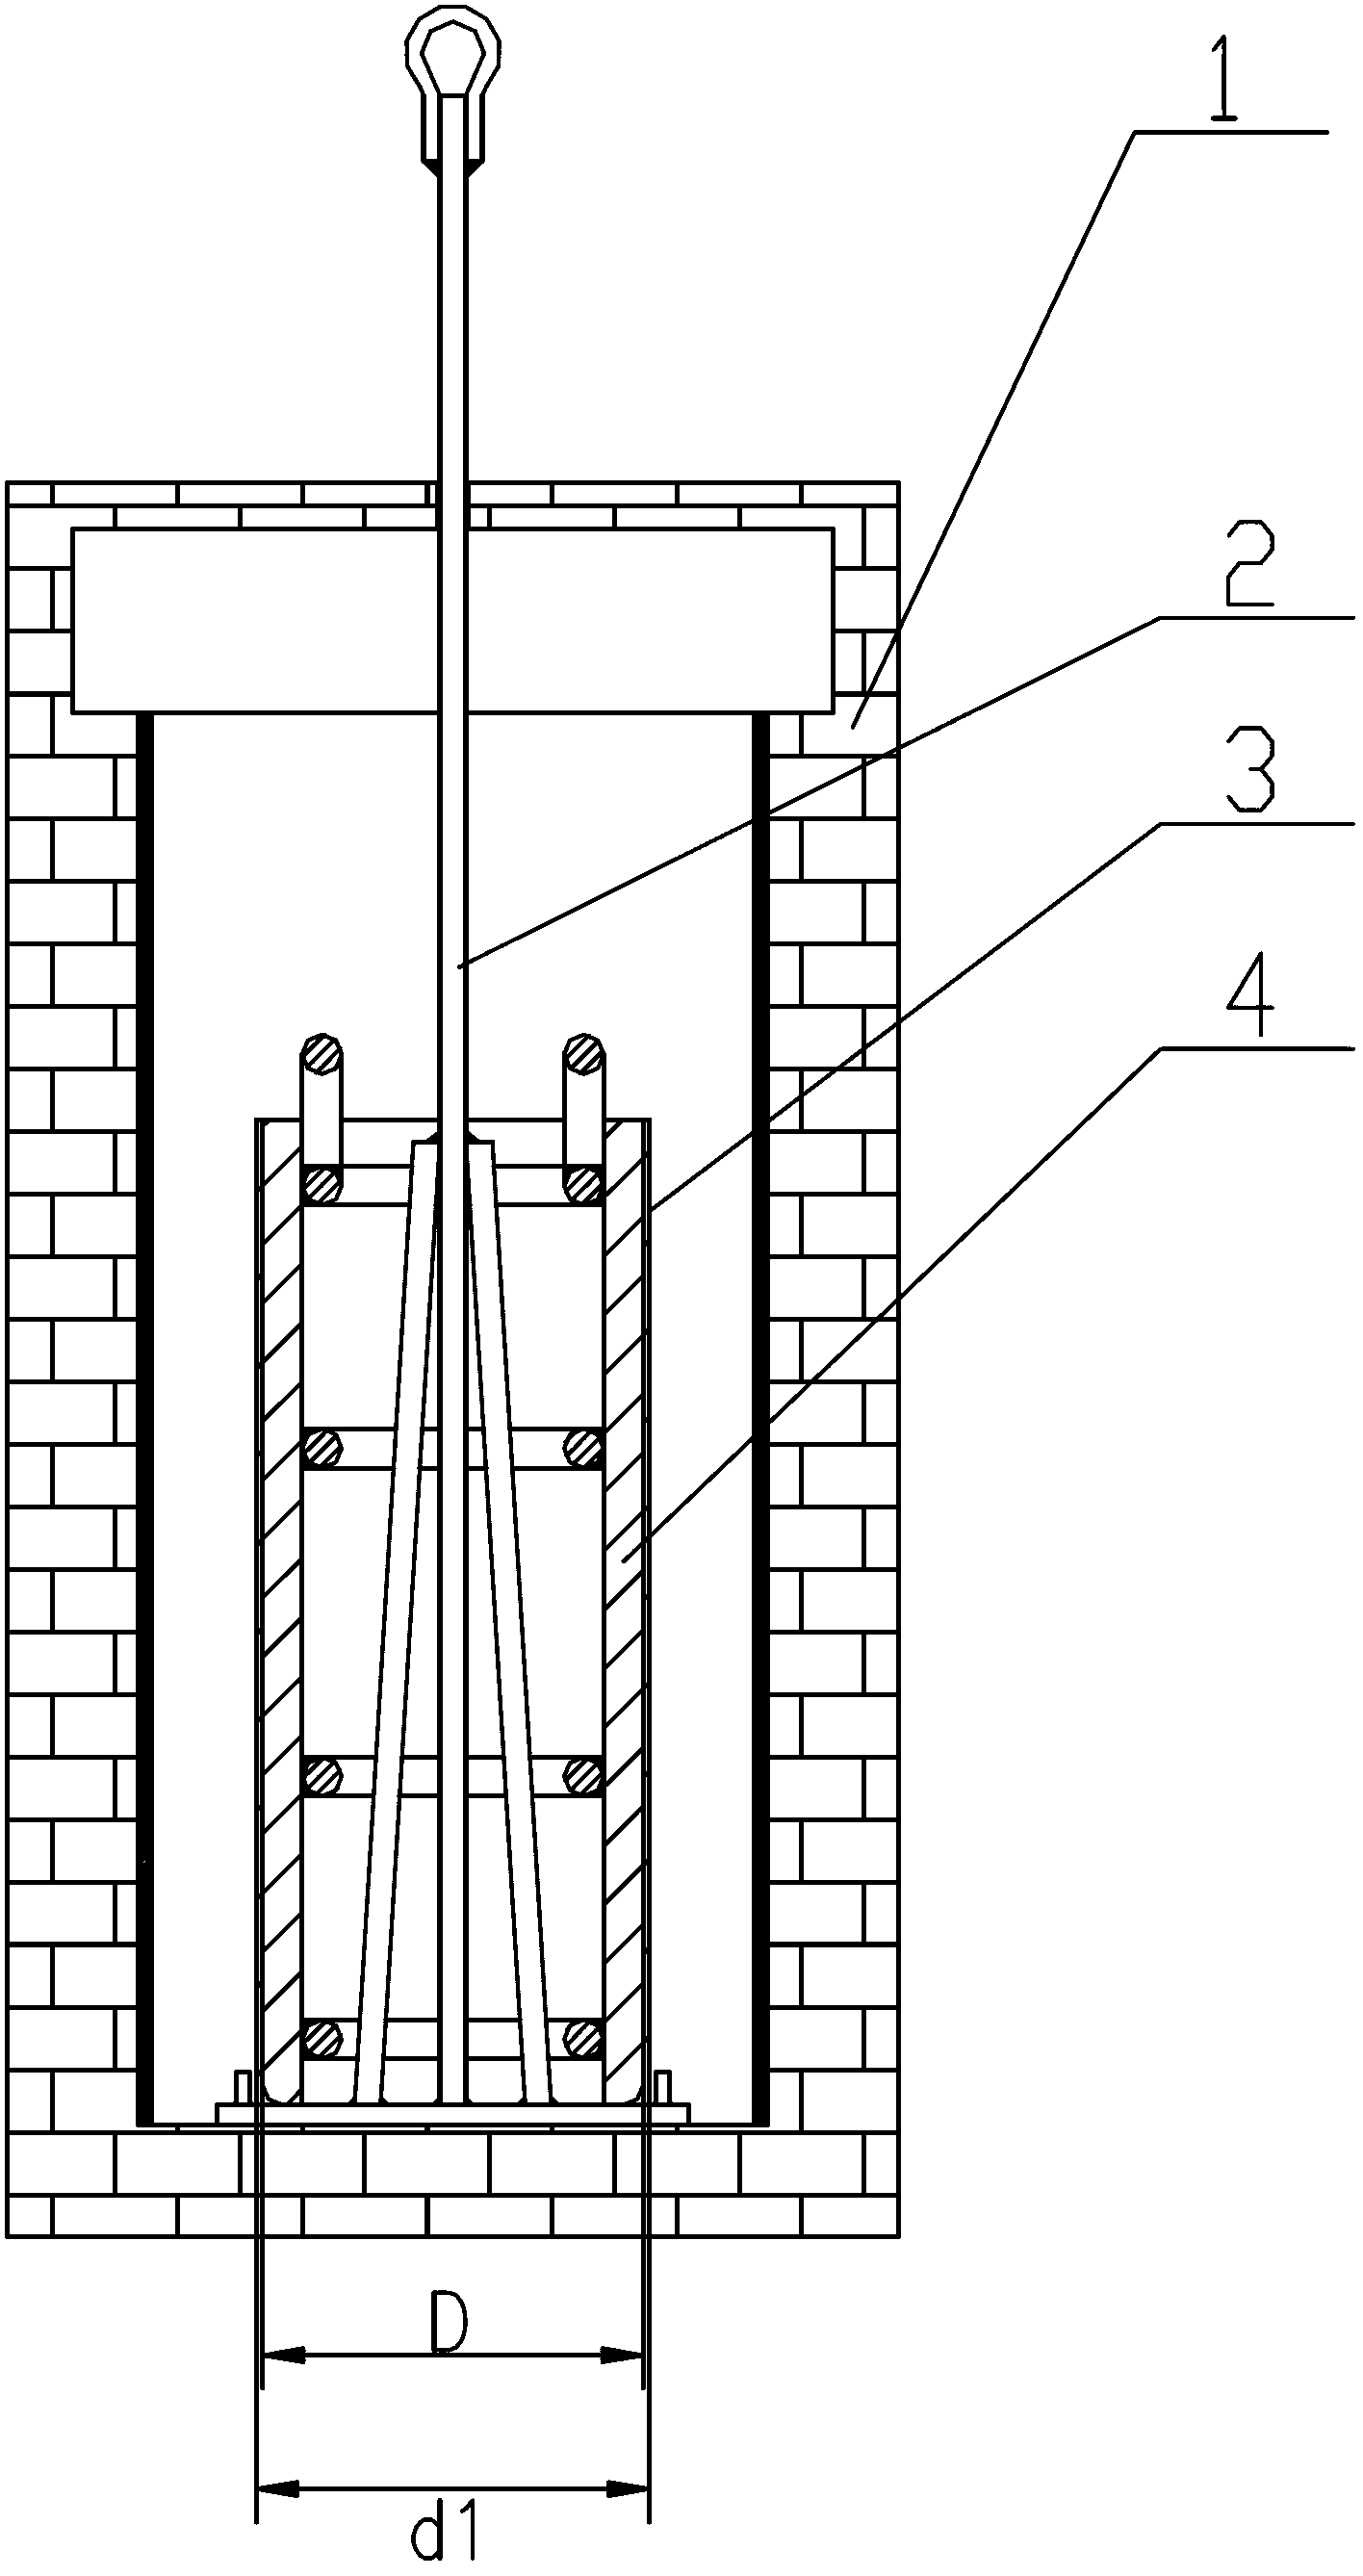
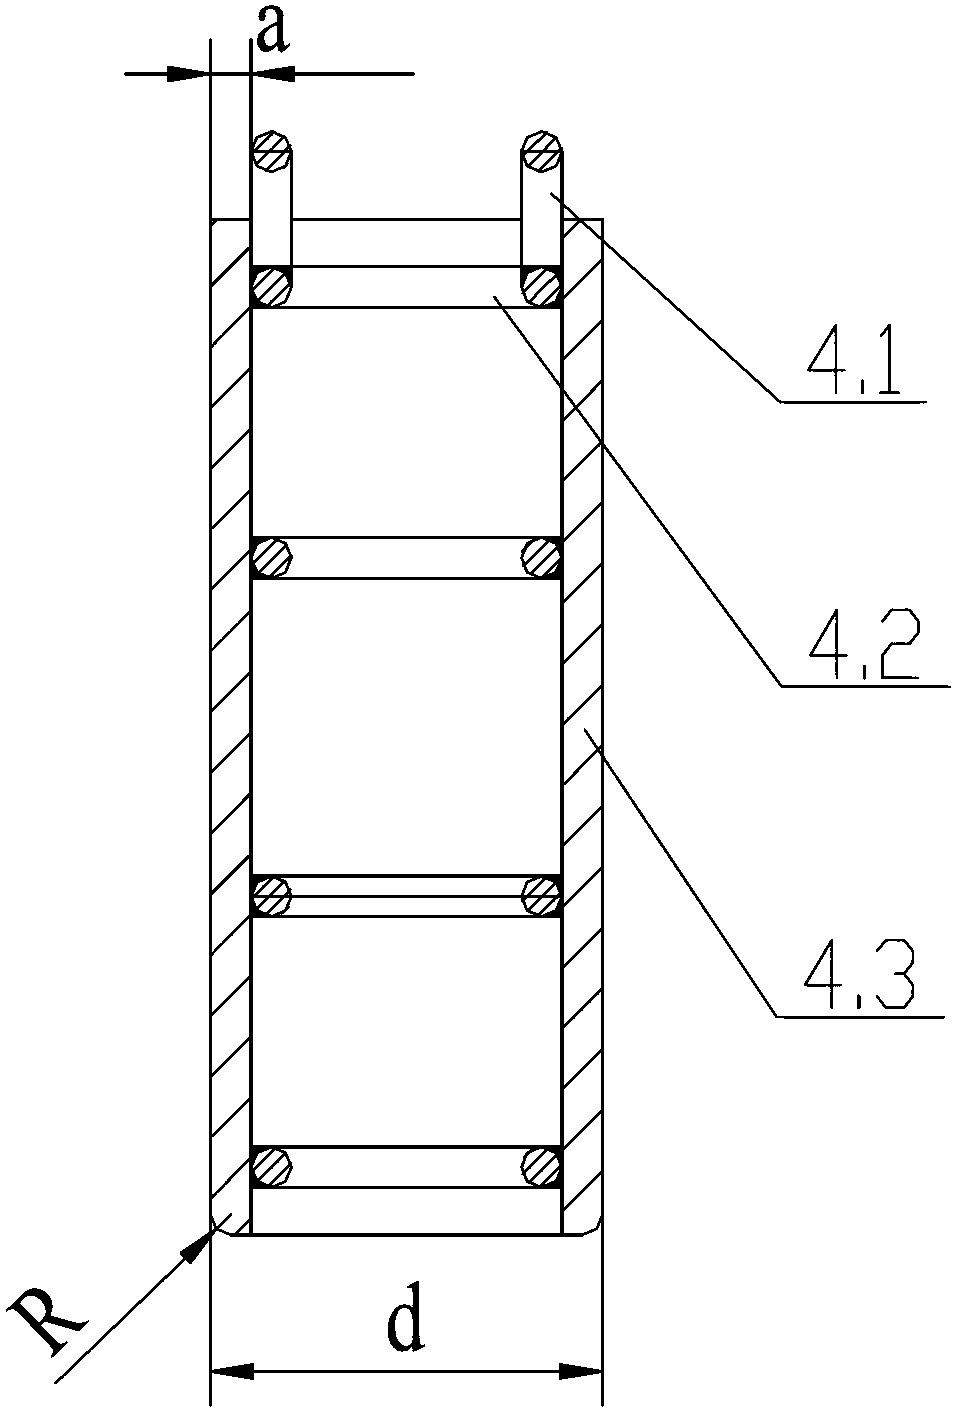
[0036] 1) Diameter design of thin-walled cylinder 3 before calibration: Process design controls the thickness of thin-walled cylinder 3 after calibration to have an appropriate amount of plastic stretching deformation in the circumferential direction, and its wall thickness is reduced by 0.023mm. Thin-walled cylinder 3 outer diameter size d before calibration 2 According to the formula calculated as d 2 =d 1 ×t 1 / t 2 =880×3.8 / 3.82=876mm, where d 1 Is the outer diameter of the calibrated thin-walled cylinder 3, t 1 Is the thickness of the thin-walled cylinder 3 after shaping, t 2 It is the thickness of the thin-walled cylinder 3 before the calibration.
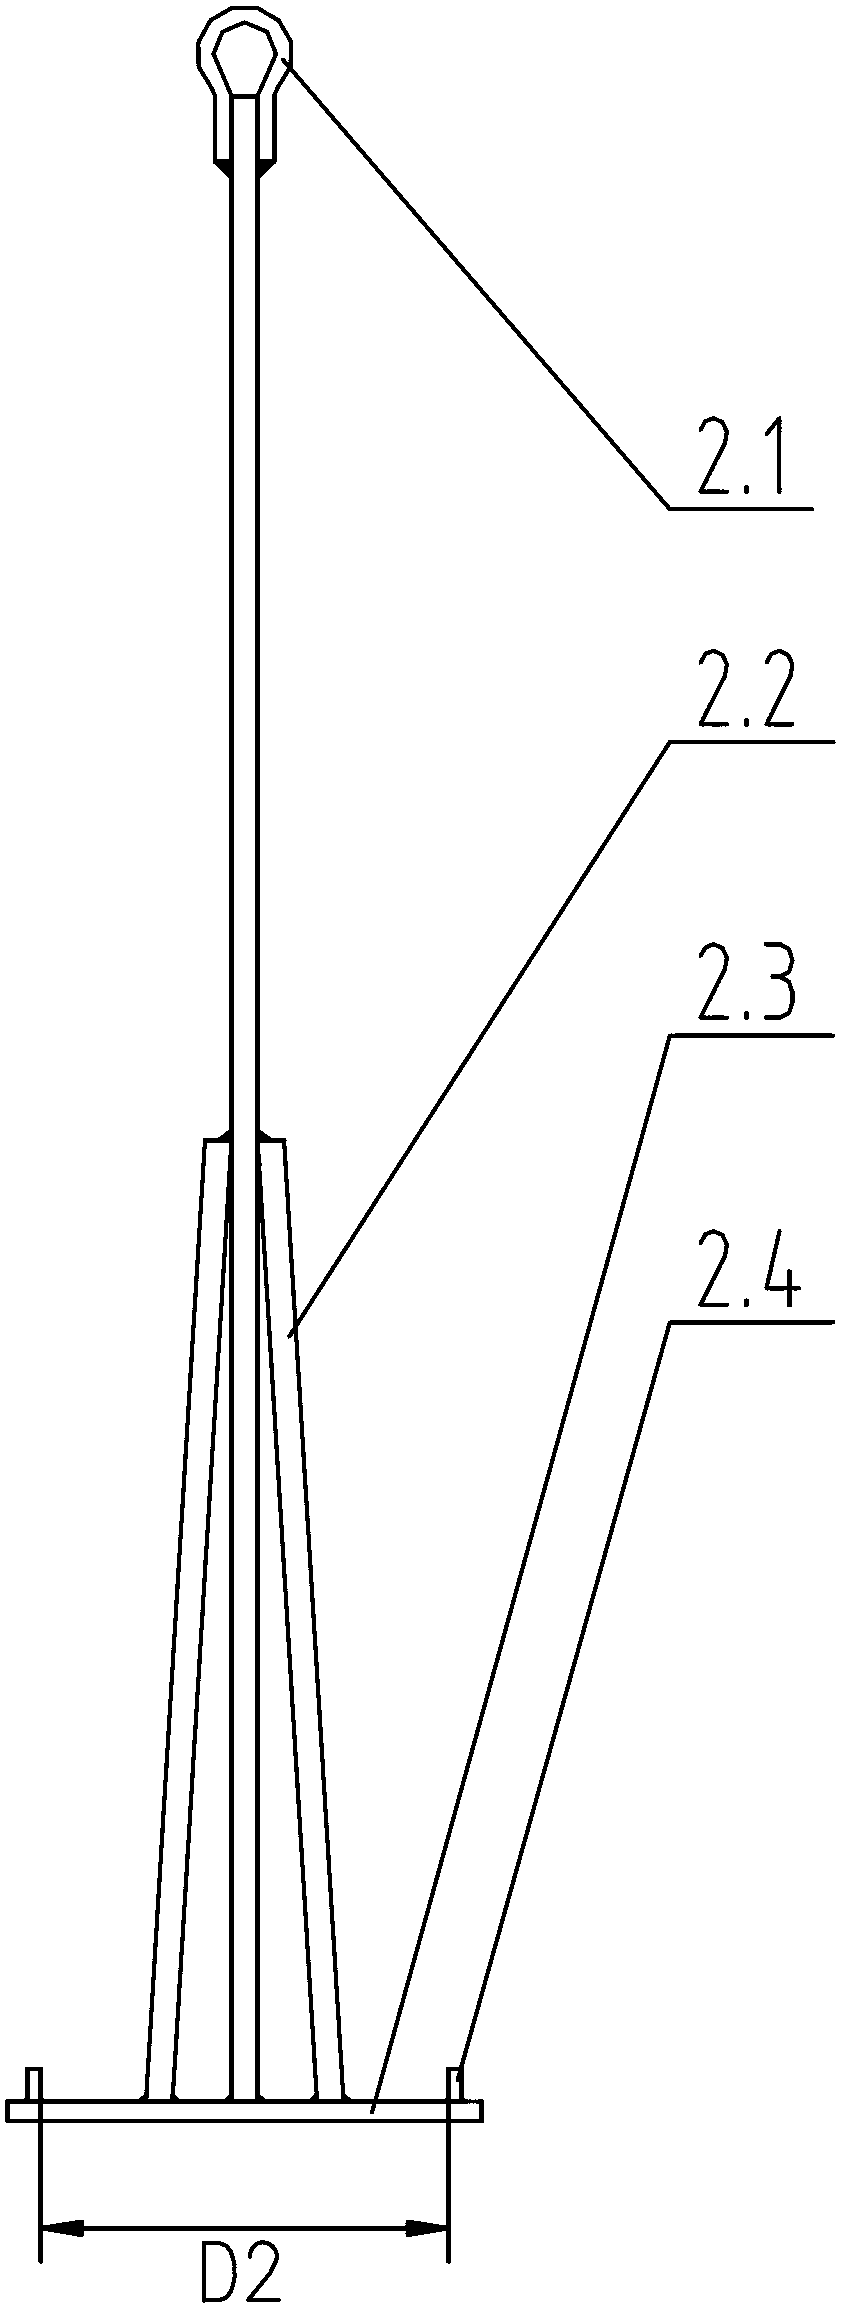
[0037] 2) Preheating of thin-walled cylinder 3: Position the thin-walled cylinder 3 on the base 2.3 of the special spreader 2, star...
Embodiment 2
[0049] For a thin-walled cylinder with a dimension parameter of Φ1200mm×2400mm and a wall thickness of 4.0mm on a certain aircraft, the control process of its diameter and shape accuracy is as follows:
[0050] 1) The diameter design of the thin-walled cylinder 3 before the calibration: the process design controls the thin-walled cylinder 3 after the calibration to have an appropriate amount of plastic stretching deformation in the circumferential direction, and the wall thickness is reduced by 0.01mm. Thin-walled cylinder 3 outer diameter size d before calibration 2 According to the formula calculated as d 2 =d 1 ×t 1 / t 2 =1200×4.0 / 4.01=1197mm, where d 1 Is the outer diameter of the calibrated thin-walled cylinder 3, t 1 Is the thickness of the thin-walled cylinder 3 after shaping, t 2 It is the thickness of the thin-walled cylinder 3 before the calibration.
[0051] 2) Preheating of the thin-walled cylinder 3: Position the thin-walled cylinder 3 on the base 2.3 of the special spr...
PUM
| Property | Measurement | Unit |
|---|---|---|
| The average diameter | aaaaa | aaaaa |
| The average diameter | aaaaa | aaaaa |
Abstract
Description
Claims
Application Information
 - R&D
- Intellectual Property
- Life Sciences
- Materials
- Tech Scout
- Unparalleled Data Quality
- Higher Quality Content
- 60% Fewer Hallucinations
Browse by: Latest US Patents, China's latest patents, Technical Efficacy Thesaurus, Application Domain, Technology Topic, Popular Technical Reports.
© 2025 PatSnap. All rights reserved.Legal|Privacy policy|Modern Slavery Act Transparency Statement|Sitemap|About US| Contact US: help@patsnap.com


