Single-point ring-shaped measuring method for thickness of surface mounting technology (SMT) screen
A measurement method and stencil technology, applied in the direction of measuring devices, instruments, optical devices, etc., can solve the problem of large error of SMT stencil, achieve the effect of reducing error, improving measurement accuracy, and small error
- Summary
- Abstract
- Description
- Claims
- Application Information
AI Technical Summary
Problems solved by technology
Method used
Image
Examples
Embodiment 1
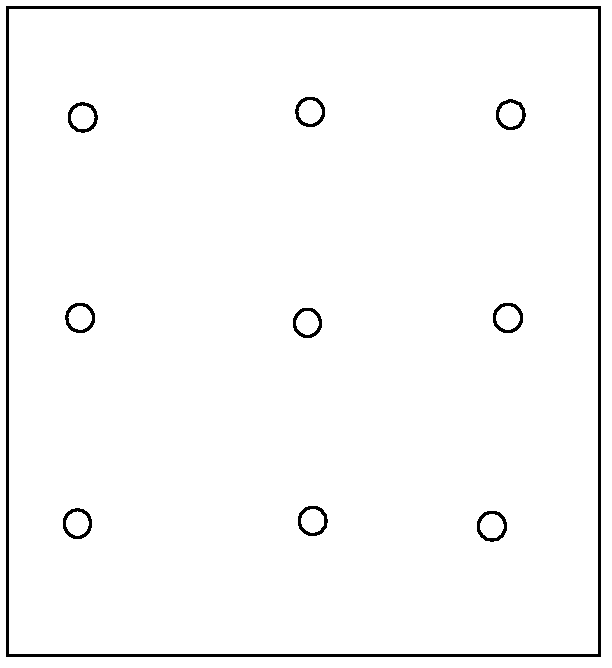
[0022] A kind of SMT stencil single-point thickness annular measurement method, comprises following several steps:
[0023] a) Set the variable r representing the radius difference between adjacent rings before measurement, and the number n of collected rings;
[0024] b) If the coordinates of the measurement point M on the screen are M(x, y), first move the laser displacement sensor to the position of the measurement point M through the axis movement, and then move the r distance in the positive direction of the x-axis, that is, the measurement point is M(x+r,y);
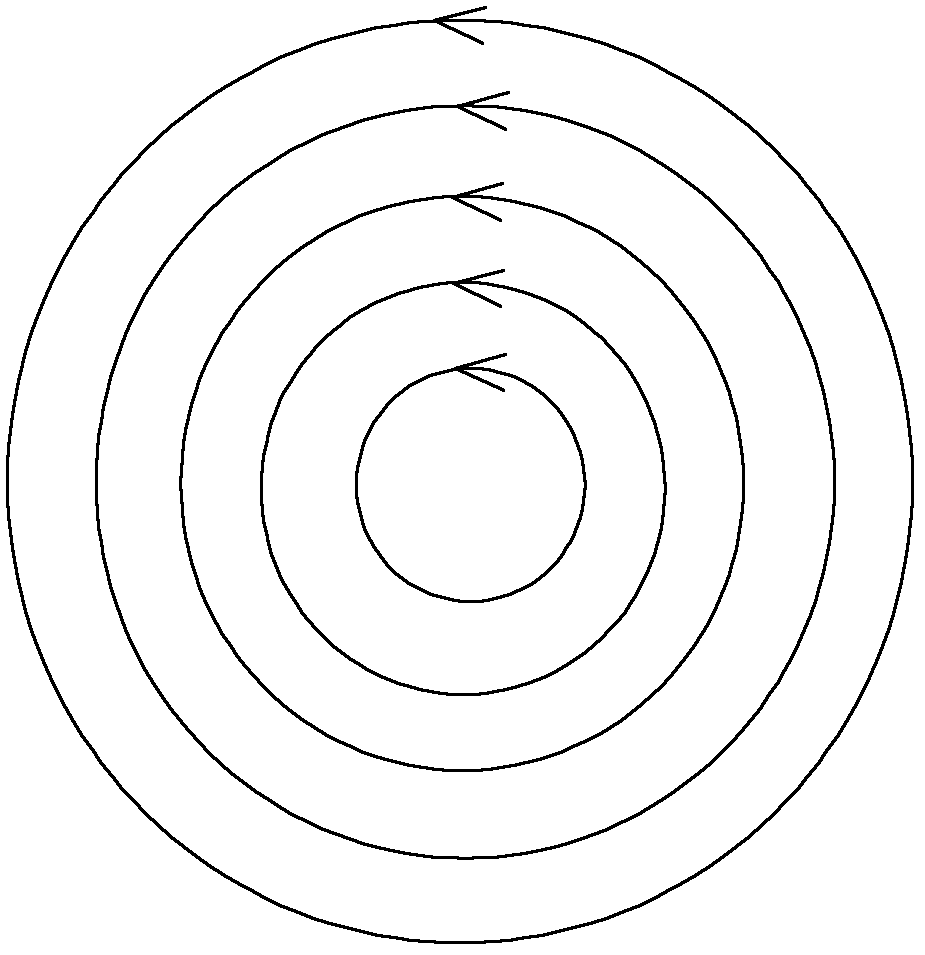
[0025] c) The sensor moves along a circle with the measurement point M as the center and r as the radius, and collects sensor readings to obtain thickness data. After completing the scanning of the entire circle, stop data collection, and take the average value of the thickness data collected on the circle as The thickness of the circle; among them, the coaxial double vertical laser displacement sensor is used to ...
Embodiment 2
[0033] A kind of SMT stencil single-point thickness annular measurement method, comprises following several steps:
[0034] a) Before the measurement, the variable r representing the radius difference between adjacent rings is set, and the number of collected rings is 10;
[0035] b) If the coordinates of the measurement point M on the screen are M(0,0), first move the laser displacement sensor to the position of the measurement point M through the axis movement, and then move the r distance in the positive direction of the x-axis, that is, the measurement point is M(r,0);
[0036] c) The sensor moves along a circle with the measurement point M as the center and r as the radius, and collects sensor readings to obtain thickness data. After completing the scanning of the entire circle, stop data collection, and take the average value of the thickness data collected on the circle as The thickness of the circle; among them, the coaxial double vertical laser displacement sensor is...
Embodiment 3
[0043] This method will collect the thickness of a certain number of rings with the measuring point as the center within the range near the measuring point, and take their weighted average to represent the thickness of the point.
[0044] 1. Before the measurement, set the variable r representing the radius difference between adjacent rings, and the number of collected rings is 5.
[0045] 2. If the coordinates of the measurement point on the screen are (1,0), first move the laser displacement sensor to the position of the measurement point through the axis movement, and then move the r distance in the positive direction of the x-axis, that is (1+r,y ).
[0046] 3. The sensor starts to move along the circle with the measurement point as the center and r as the radius, and collects the sensor readings to obtain thickness data. After completing the scanning of the entire circle, stop data collection, and take the average value of the thickness data collected on the circle as Th...
PUM
 Abstract
Description
Claims
Application Information
 - Generate Ideas
- Intellectual Property
- Life Sciences
- Materials
- Tech Scout
- Unparalleled Data Quality
- Higher Quality Content
- 60% Fewer Hallucinations
Browse by: Latest US Patents, China's latest patents, Technical Efficacy Thesaurus, Application Domain, Technology Topic, Popular Technical Reports.
© 2025 PatSnap. All rights reserved.Legal|Privacy policy|Modern Slavery Act Transparency Statement|Sitemap|About US| Contact US: help@patsnap.com


