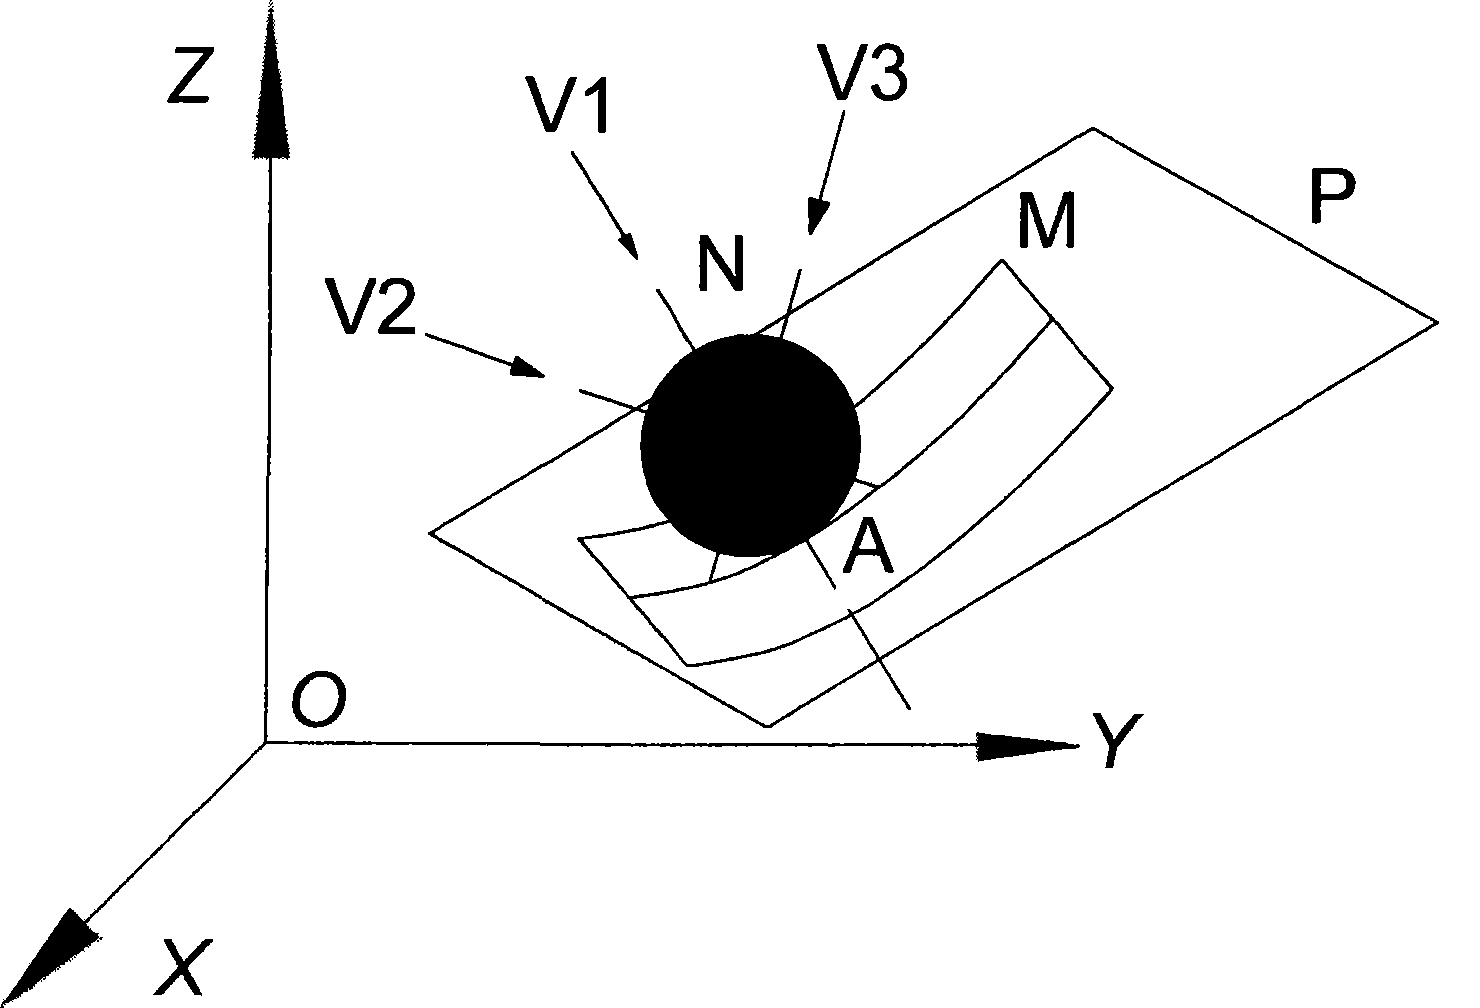
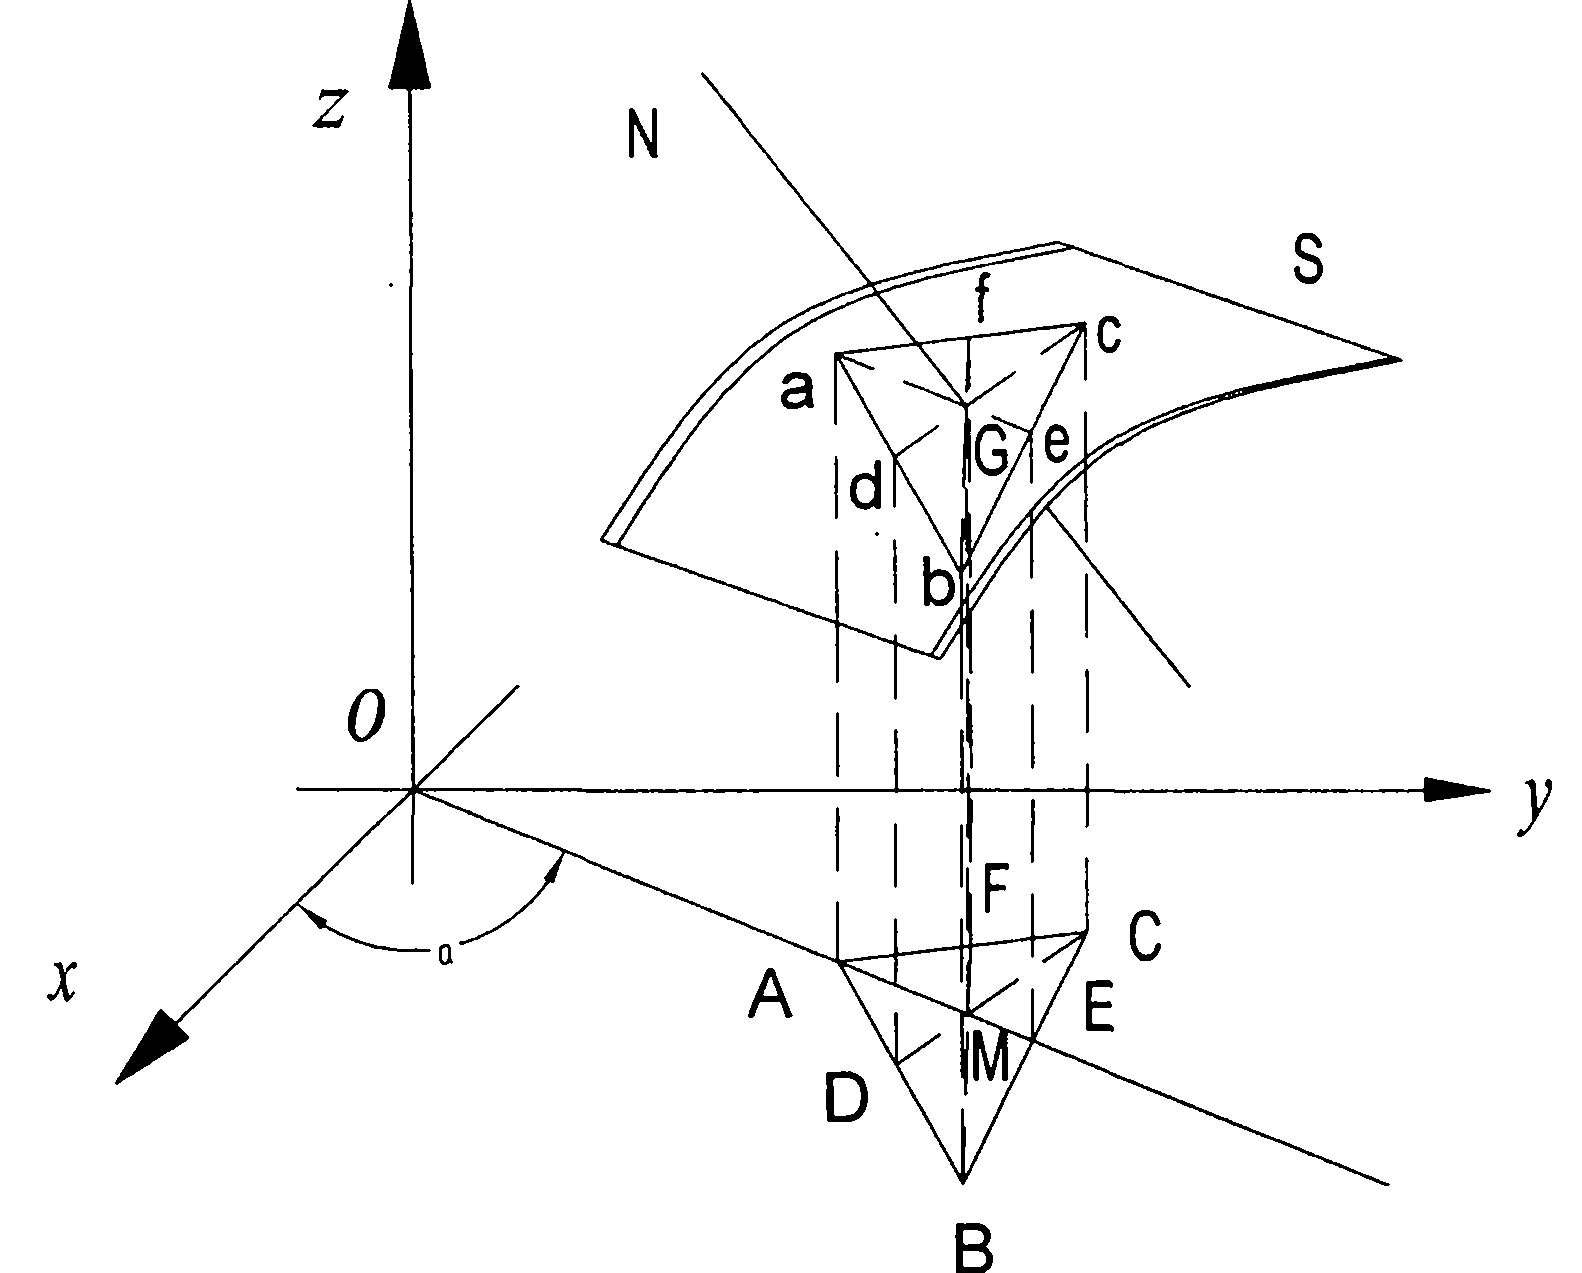
Method for measuring spatial rotating surface by taking coordinate of ball center of steel pin as target point
A technology of space rotating curved surface and target point, applied in the direction of measuring devices, instruments, etc., can solve problems such as wrong measurement results, no application or report found, difficulty in measuring spatial rotating curved surface, etc., and achieve high accuracy and high measurement efficiency Effect
- Summary
- Abstract
- Description
- Claims
- Application Information
AI Technical Summary
Problems solved by technology
Method used
Image
Examples
Embodiment 1
[0204] Embodiment 1: Measurement of rotating surface of space cam
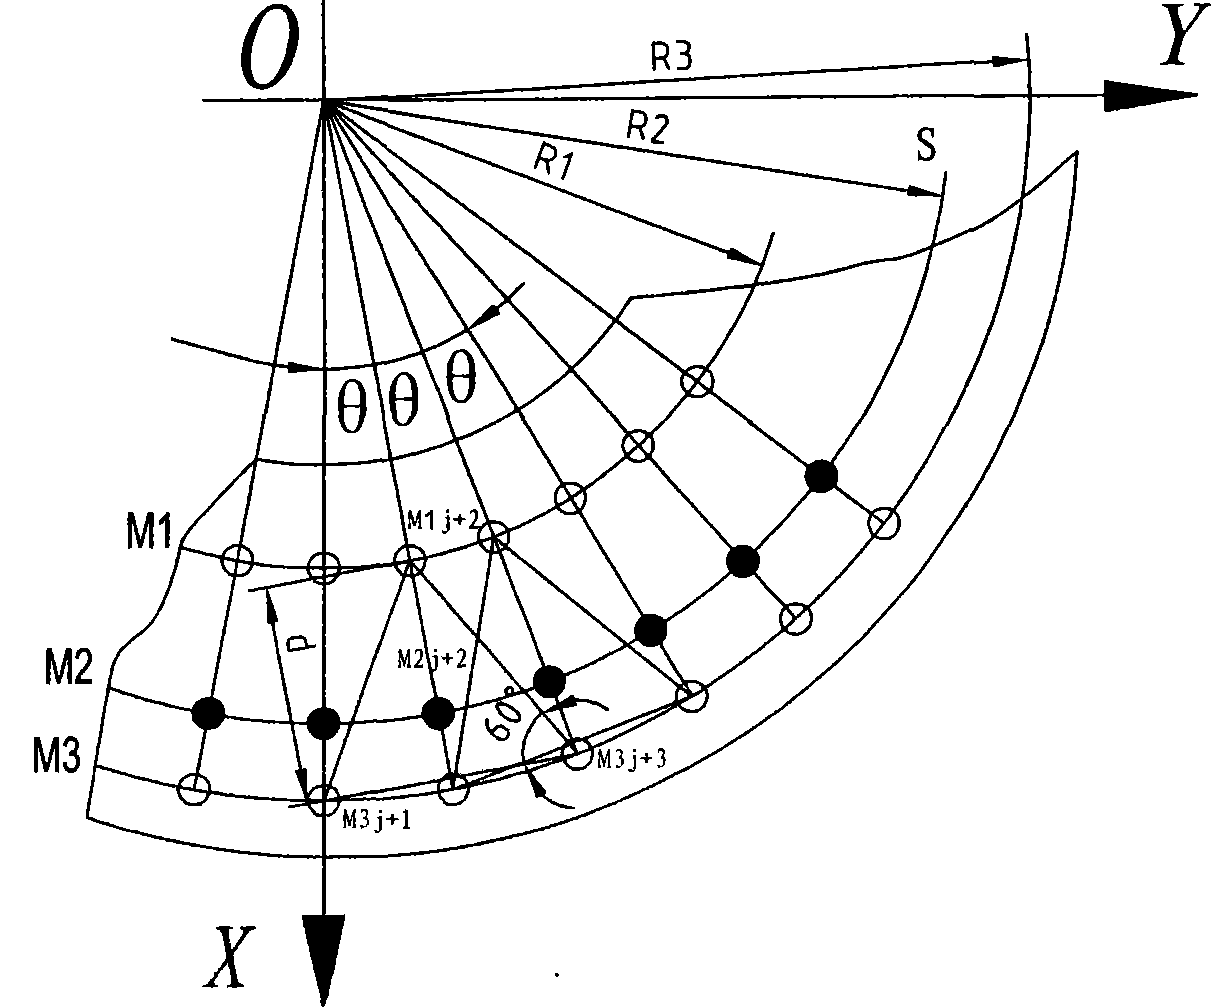
[0205] Program Applied Tobacco Industry. In the smoke machine equipment, the spatial rotating surface is widely used, and it is mostly seen in the wrapping machine GDX2000 and GDX1, such as part numbers: 0X9674, 0X9196, 0X7400, 0X7531, 2XKDA4, OX6126 and OAS947, etc., such as Figure 7 It is a double cylindrical cam, Figure 8 The contour curves obtained for its measurement are all unprocessed original curves. There are 9 stylus trajectory curves and 3 contour curves on each surface, each of which has a data file, which is generated with 48 data files. There are approximately 13,200 measurement points. In cigarette companies, use Figure 8 , can be directly imported into the CAD / CAM system to implement the measurement reverse engineering of the accessory and the quality control in the manufacturing; in the smoke machine company, in addition to the metrological verification, it can also implement the rever...
Embodiment 2
[0206] Embodiment 2: blade surface inspection method:
[0207] The blade surface is an important curved surface, and the manufacturing accuracy of the important blade surface is very high. If there is a design drawing, it can be inspected according to the technical requirements; if there is no drawing, the blade can be reversely designed. Figure 9 It is a schematic diagram of the method of measuring the blade surface with this program. If the measurement coordinate system is established at the rotation center of the blade surface, the polar angle value A1 ( ) and A2( ), determine the R1 value, calculate the d value or θ according to the formula (1-3), and use the vector V (0, 0, -1), then you can make precise measurements on the blade surface.
[0208] For example, if the leaf surface error of R2=300mm is checked, if d=1mm is selected, then R1=299.333mm, R3=300.334mm, θ=0.1101433°. If the starting point polar angle A1=45°, the end point polar angle A2=85°, then there w...
PUM
 Abstract
Description
Claims
Application Information
 - Generate Ideas
- Intellectual Property
- Life Sciences
- Materials
- Tech Scout
- Unparalleled Data Quality
- Higher Quality Content
- 60% Fewer Hallucinations
Browse by: Latest US Patents, China's latest patents, Technical Efficacy Thesaurus, Application Domain, Technology Topic, Popular Technical Reports.
© 2025 PatSnap. All rights reserved.Legal|Privacy policy|Modern Slavery Act Transparency Statement|Sitemap|About US| Contact US: help@patsnap.com


