A Method for Determination of Type II Cracking Threshold and S-n Curve of Composite Materials
A composite material and measurement method technology, applied in the field of fatigue fracture test of composite materials, can solve problems such as difficult to obtain interlayer delamination expansion rate of composite materials
- Summary
- Abstract
- Description
- Claims
- Application Information
AI Technical Summary
Problems solved by technology
Method used
Image
Examples
Embodiment 1
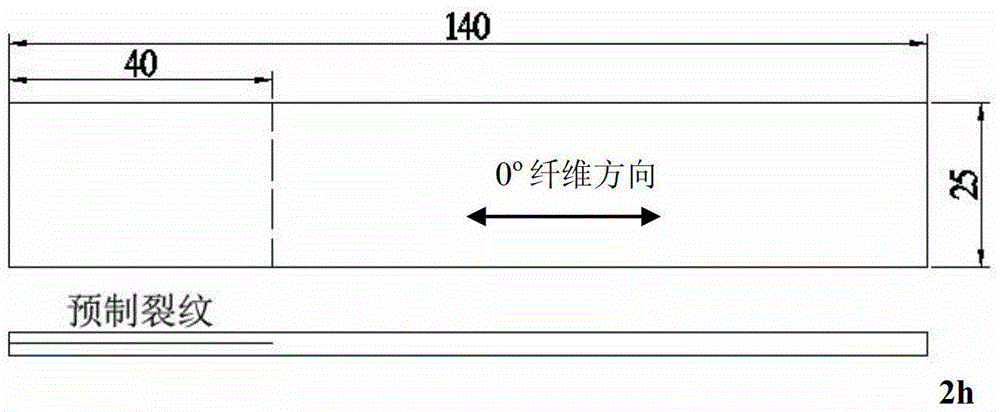
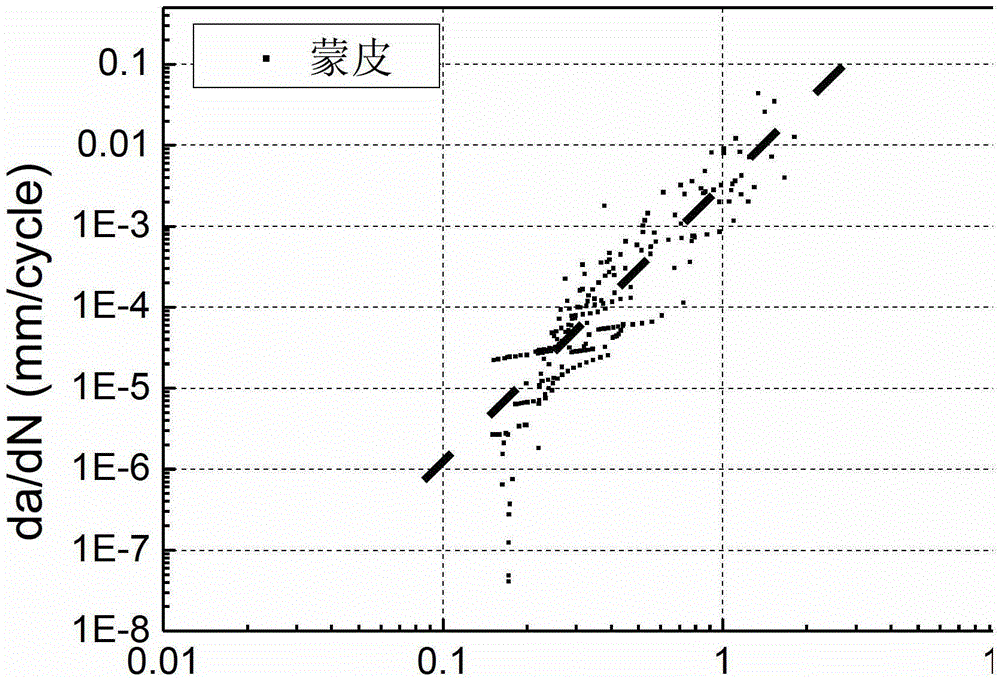
[0105] Embodiment 1 carbon fiber skin sample cracking threshold value, S-N curve determination method,
[0106] Step 1: 1.1 Randomly select 30 samples and number them;
[0107] 1.2 Measurement of sample geometric dimensions. Use a vernier caliper to measure and read the thickness values at the four corners of the sample, and take the average thickness at the four corners as the nominal thickness of the sample. In this example, the dimensional accuracy of the length and width of the sample is guaranteed during processing, so there is no need to measure again during the test;
[0108] 1.3 Sample surface treatment. The skin sample is black and opaque, and it is difficult to observe the cracks directly, so it is necessary to treat the crack observation surface. The treatment method is as follows: first, use diamond abrasive paste and fine sandpaper to grind the surface of both sides of the skin sample to improve the smoothness of the crack observation surface; secondly, the g...
Embodiment 2
[0113] Embodiment 2 Glass fiber girder belt sample cracking threshold value, S-N curve determination method
[0114] Step 1: 1.1 Randomly select 30 pieces of fiberglass girder belt samples and number them;
[0115] 1.2 Measurement of sample geometric dimensions. Use a vernier caliper to measure and read the thickness values at the four corners of the sample, and take the average thickness at the four corners as the nominal thickness of the sample. In this example, the dimensional accuracy of the length and width of the sample is guaranteed during processing, so there is no need to measure again during the test;
[0116] 1.3 Sample surface treatment. The material of the girder belt sample is translucent, and the cracks can be observed directly under the microscope without surface treatment as in Example 1;
[0117] 1.4 The sample crack is pre-cracked. Carry out artificial type II pre-cracking on the sample, the specific method is: firstly, draw a line 45mm from the pre-cr...
PUM
| Property | Measurement | Unit |
|---|---|---|
| thickness | aaaaa | aaaaa |
Abstract
Description
Claims
Application Information
 - Generate Ideas
- Intellectual Property
- Life Sciences
- Materials
- Tech Scout
- Unparalleled Data Quality
- Higher Quality Content
- 60% Fewer Hallucinations
Browse by: Latest US Patents, China's latest patents, Technical Efficacy Thesaurus, Application Domain, Technology Topic, Popular Technical Reports.
© 2025 PatSnap. All rights reserved.Legal|Privacy policy|Modern Slavery Act Transparency Statement|Sitemap|About US| Contact US: help@patsnap.com


