Method for measuring volume, area and depth of etching pits simultaneously
A technology of corrosion pit and volume, applied in measuring devices, instruments, optical devices, etc., to achieve the effect of solving difficult measurement
- Summary
- Abstract
- Description
- Claims
- Application Information
AI Technical Summary
Problems solved by technology
Method used
Image
Examples
Embodiment 1
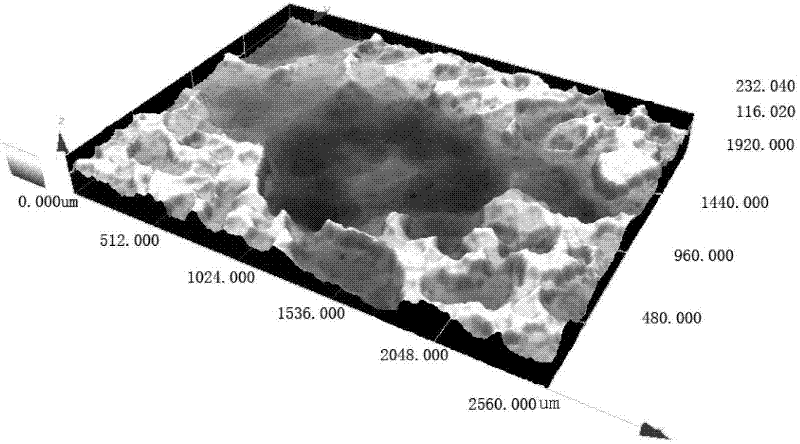
[0028] The measurement of embodiment 1 single corrosion pit
[0029] In order to study the corrosion resistance of X80 pipeline steel, a 30 (length) × 30 (width) mm, 5 mm thick X80 pipeline steel plate was selected for simulated corrosion experiments. Corrosion test parameters: Corrosion for 7 days under constant temperature (45°C) and constant humidity (humidity 90%) conditions.
[0030] 1. Because the corrosion sample fully meets the requirements of the test sample, this embodiment does not include the sample cutting step. The corroded samples were corroded with a 1:1 volume hydrochloric acid aqueous solution until the oxidation products were completely removed, then ultrasonically cleaned with alcohol for 3 minutes, and dried with a hair dryer.
[0031] 2. Turn on the laser confocal microscope and the control computer, start the LEXT OLS control software, complete the system initialization, then place the sample to be observed on the stage, select the area to be observed u...
Embodiment 2
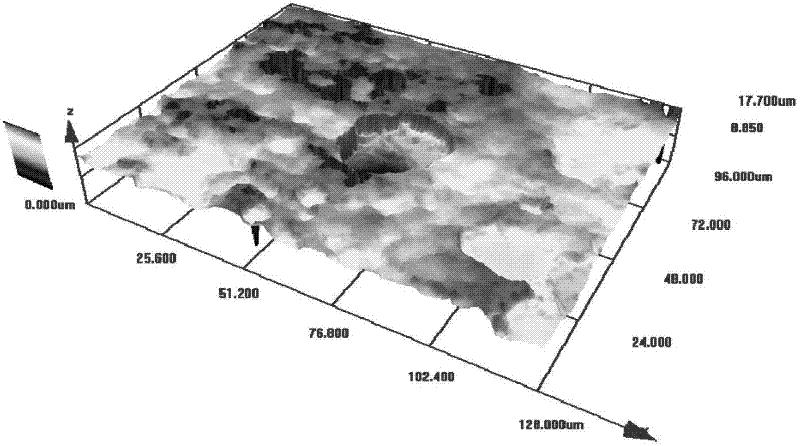
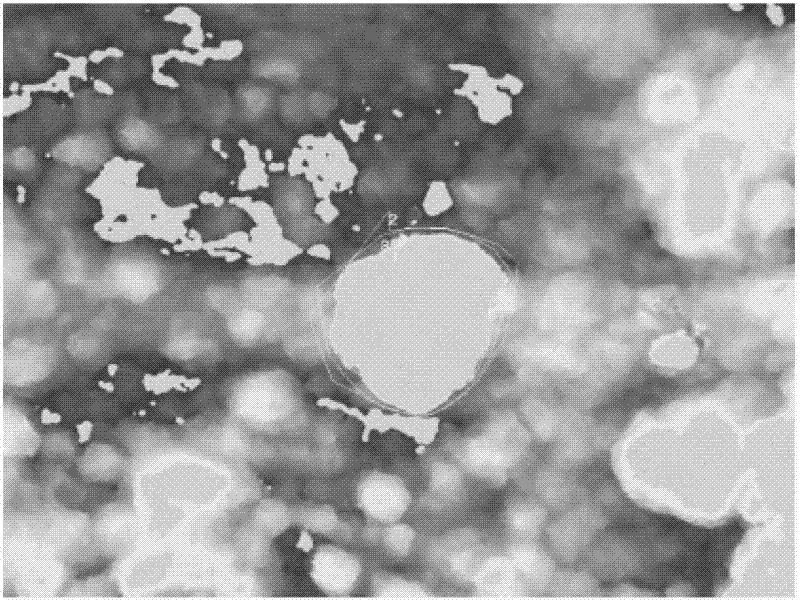
[0035] The measurement of all corrosion pits in the field of view of embodiment 2
[0036] The same sample as in Example 1 was used to study the measurement method of all corrosion pits in the same field of view. The specific test process is as follows:
[0037] 1. The sample preparation process is the same as above.
[0038] 2. Turn on the laser confocal microscope and the control computer, start the LEXT OLS special control software, complete the system initialization, then place the sample to be observed on the stage, select the area to be observed under the 5x objective lens, and after the area is selected, set the objective lens The magnification is gradually increased, which is 10 times, 20 times, and 50 times in turn. Each time the magnification is changed, the focus needs to be adjusted to enable clearer imaging under ordinary light sources. Here, according to the size of the corrosion pit, it is decided to use a 50x objective lens for observation. Turn on the laser...
Embodiment 3
[0041] The influence of embodiment 3 scanning steps on measurement results
[0042] Using the same sample as in Example 2, and the same field of view under the same magnification, the influence of the change of the scan step length on the measurement results was studied. The specific test process is as follows:
[0043] 1. The sample preparation process is the same as above.
[0044] 2. Turn on the laser confocal microscope and the control computer, start the LEXT OLS special control software, complete the system initialization, then place the sample to be observed on the stage, select the area to be observed under the 5x objective lens, and after the area is selected, set the objective lens The magnification is gradually increased, which is 10 times, 20 times, and 50 times in turn. Each time the magnification is changed, the focus needs to be adjusted to enable clearer imaging under ordinary light sources. Here, according to the size of the corrosion pit, it is decided to u...
PUM
 Abstract
Description
Claims
Application Information
 - R&D Engineer
- R&D Manager
- IP Professional
- Industry Leading Data Capabilities
- Powerful AI technology
- Patent DNA Extraction
Browse by: Latest US Patents, China's latest patents, Technical Efficacy Thesaurus, Application Domain, Technology Topic, Popular Technical Reports.
© 2024 PatSnap. All rights reserved.Legal|Privacy policy|Modern Slavery Act Transparency Statement|Sitemap|About US| Contact US: help@patsnap.com


